
How do you do a photoshoot at home? Let alone by yourself?
You might think that you need a photographer’s help in order to take great photos of yourself at home, but I’m here to tell you that’s not true!
It’s 100% possible to take amazing photos for your instagram by yourself.
In fact, I take a lot of the photos on my instagram by myself!
With the right equipment and a little practice you’ll be well on your way to taking amazing photos at home by yourself too, just follow these steps!
Before we get started, you might also want to check out these photoshoot guides:
- 40 Easy Instagram Poses to try for your next Photoshoot
- 33 Creative Home Photoshoot Ideas to Try Now
- 20 Outdoor Photoshoot Ideas – Easy Backyard Photography Guide
- 22 Stunning Spring Photoshoot Ideas
- 20 Creative Fall Photoshoot Ideas
- 22 Creative Winter Photoshoot Ideas
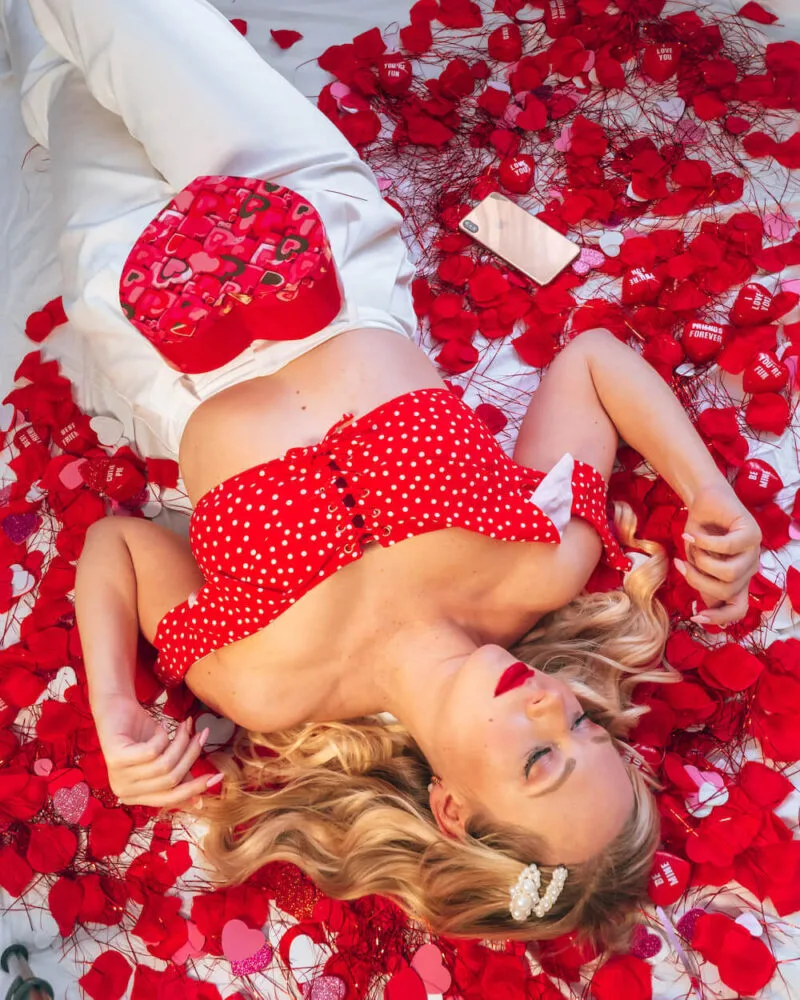
- 11 Creative Solo Valentine’s Day Photoshoot Ideas
Now onto how to do a photoshoot at home by yourself!
Planning your Home Photoshoot
You might thing the actual photoshoot itself is the most important part, but the planning process is super important.
Here are the things you’ll want to consider when planning your home photoshoot.
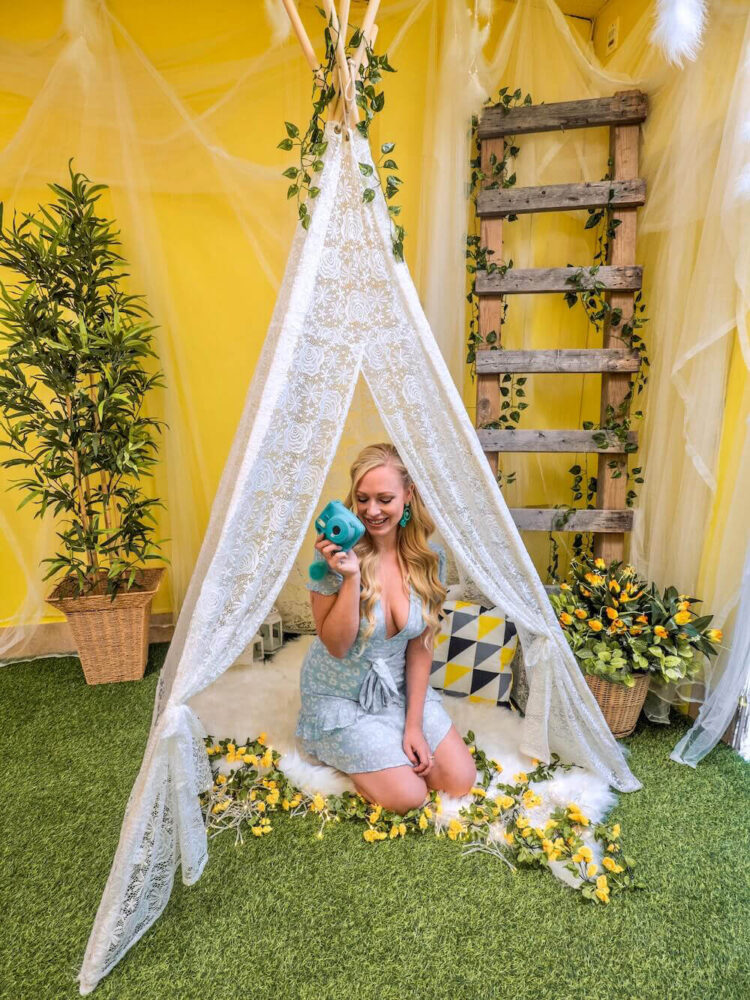
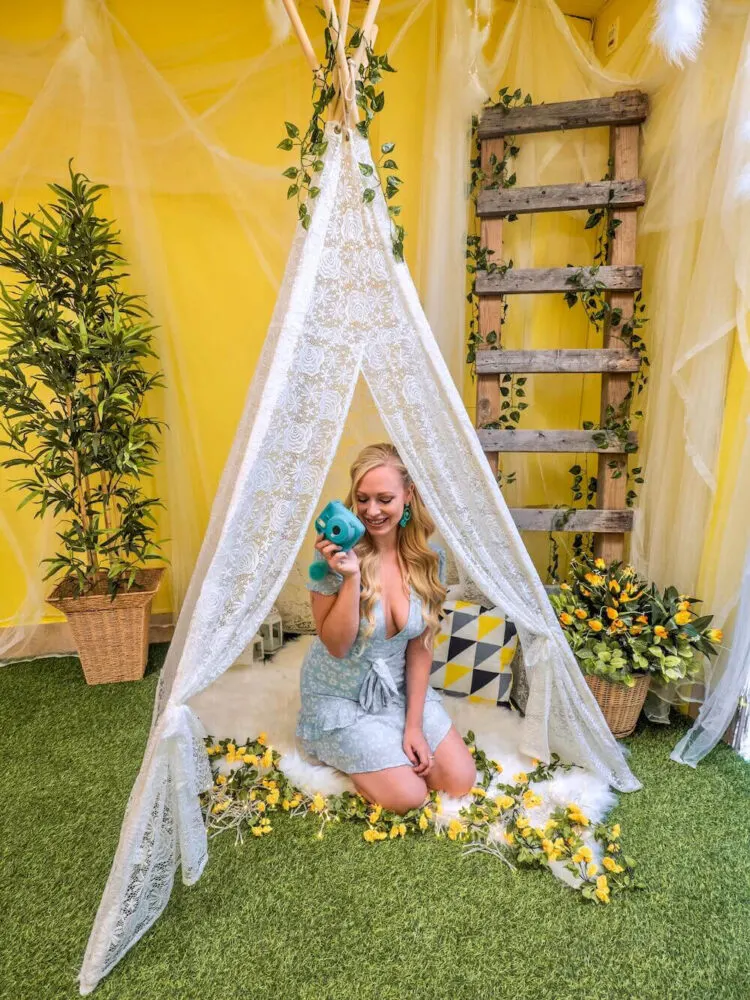
What are some Photoshoot Ideas? – Where to get creative home photoshoot ideas
Before you get started with your home photoshoot, you’ll want to make sure you have a photoshoot concept in mind.
So what are some photoshoot ideas and where can you find more inspiring photo ideas?
Check out this post on 33 home photoshoot ideas to try now for some creative ideas you can easily try at home.

Or if you’re looking to try an outdoor photoshoot you might want to check out this post on 20 outdoor photoshoot ideas.
Another great place to draw inspiration from for home photoshoot ideas is Pinterest, Instagram, or even TikTok!
I always save photos that I love from other creators on Pinterest to use as inspiration in my future home photoshoots.
You can check out my Pinterest boards here.
I’ve divided my photography inspiration boards by season which makes it easy for me to find what I’m looking for.
You might want to categorize your boards the same way or differently.
You can organize them in all sorts of different ways based on aesthetics, time period, location etc.
Get your Prop List Together
Although some home photoshoot ideas are simple and don’t involve a lot of extra props or add-ons, others can be quite complex and will require a list of extras.
I like to keep a list for my more complicated home photoshoot ideas so that I don’t forget anything on the shoot day.
Include a running tally of all the items you will need to bring your photoshoot to life!
Get your Equipment List Together
The equipment you need to have on hand for your home photoshoot might seem like common sense, but sometimes on the day you might find yourself getting frazzled and scatter-brained.
You can prevent this from happening by keeping a list of all the equipment you’ll need.
This list will include things like your camera (or phone), tripod, lighting equipment, and bluetooth remote.
Here is a list of the exact photography equipment I use in all of my photoshoots:
- Camera – Nikon Z fc: I highly recommend this camera. It’s super light and portable making it great for travel, and takes amazing photos. I shoot all my photos with this camera!
- Ring light – Neewer: I use this exact ring light and I absolutely love. It’s great for not only photo content but video content as well. I even use it to shoot all my acting auditions.
- Tripod – Neewer: It’s important when buying a tripod to get one that not only extends high enough, but also is sturdy so it won’t fall over. I made the mistake of once purchasing a lightweight tripod and my camera always fell over. Now I rely on this tripod.
Plan Your Hair and Makeup
When drawing inspiration and planning your photoshoot consider in advance what vibe, aesthetic and look you are going to go for.
This includes planning your hair and makeup!
Depending on what look you’re going for you may need a decent amount of time to get your hair and makeup ready for your home photoshoot.
This is especially the case with super creative photoshoots that involve fun makeup and crazy hairstyles.
Spend the time researching how you will do your hair and makeup for your home photoshoot in advance so you’re prepared when it’s shoot day!
Planning Your Photoshoot Outfit
The outfit you wear for a photoshoot can make or break the final photo!
When planning my photoshoot outfits I always consider the look and aesthetic I am going for, then carefully plan my outfit accordingly.
It’s important to also consider the colours you will be wearing.
Do they match the aesthetic of the room you will be shooting in?
If you are using a backdrop will they stand out nicely?
Do the clothes you’ve picked out convey the message you are trying to convey with this particular shoot?
Planning your photoshoot outfit in advance will make things much easier for you on the day of your photoshoot.
Pick a date and time for your home photoshoot
Although sometimes my home photoshoots are spur of the moment because they don’t involve driving out to a different location, most of the time I like to plan my photoshoots in advance.
Being prepared in advance will not only take the stress off of you, but it’ll make your home photoshoot that much more successful.
I often like to take advantage of batch shooting when doing photoshoots at home, this means to shoot a lot of content at once.
This is most beneficial because you only have to get ready once so it maximizes your time!
Here are a few things to consider when doing a photoshoot at home:
Lighting
Lighting is super important not only for photoshoots you do at home by yourself, but any photoshoot!
When shooting at home by yourself you’ll want to make sure you shoot when there is ample lighting so the best time is during the day when the sunlight is the strongest.
If you don’t want to have to rely on on natural light there are lots of great lighting sets and ring lights you can get that are great for home photoshoots.
I use this ring light from Amazon which I absolutely love.
I am able to attach my camera or my phone to it and I use it for all of my home photoshoots and video content.
Weather
Weather is an important thing to consider when doing your home photoshoots mainly when shooting outside.
However, rainy and gloomy weather can mean poor lighting so it’s important to also consider this when planning to do a home photoshoot.
It’s best to do a home photoshoot indoors when it’s bright and sunny out so you have lots of natural light to work with.
How do you do a photoshoot at home by yourself?
Now that you have completed the planning process and the shoot day has arrived, it’s time to dive into the steps involved to make your home photoshoot a success.
Here are the steps you will want to take when doing a photoshoot at home by yourself:
Preparing your equipment
You have your photoshoot equipment list and now it’s time to get your equipment together!
You will want to make sure you have charged your camera battery the night before so it’s full and ready to be used.
Set up your artificial lighting or ring light if you’re using one.
Make sure the curtains are open and natural light is coming into the room if you’re not.
Next you will want to set up your tripod in the room you will be doing your home photoshoot in.
I always prefer well-lit rooms, but if you have a ring light or artificial lighting those work out great for photoshoots too.
Set your camera or phone up on your tripod and turn it on so you can see what the framing looks like.
Play around with adjusting your tripod and angle until you have the framing you would like.
Pro tip: Always make sure to give yourself extra room in the framing of your photo for cropping. I always shoot with “wiggle” room to crop later during the editing process.
Prepare your photoshoot set up
Unless you are planning to shoot in a room exactly as it is you’ll likely need to move things around and adjust until you get the look you want.

Move furniture around until the space looks exactly how you want it.
Make sure you have no junk or trash in the area where you will be shooting.
If you are using a backdrop hang it up.
I find a bed sheet works great with 3M hooks hung up on the wall.
There’s no need for fancy photography equipment when it comes to backdrops!
Prepare your remote or timer for self-shooting
When doing a photoshoot at home by yourself there are a couple of ways you can take photos of yourself.
You can either use a bluetooth remote connected to your phone or camera, or you can set a timer on your phone or camera before running and getting into position.

Personally I prefer always using a remote so I do not have to run back and forth.
If you are shooting with a camera, many cameras these days can connect to your phone through an app that will allow you to use your phone as the remote.
I shoot on the Nikon Zfc and use my phone as a remote through the SnapBridge app.
This is the easiest option because you can actually see what the photo looks like on your phone screen while you’re taking it!
Other options are to purchase a bluetooth remote which can connect to either your phone or camera to take photos remotely.
You won’t be able to see how the photo looks while you’re taking it, but you can snap photos while in position by pressing the button.
Start the Photoshoot!
Here’s where the fun happens!
Since you’re doing this photoshoot at home by yourself you don’t need to worry about taking up anyone’s time.
This means you can have lots of fun with different poses, getting creative, and taking all the time you need to get a few photos you really like.


Sometimes I like to go into photoshoots with pose ideas saved, but usually I will just wing it and see how things look as I go!
You never know what kind of ideas will come to mind as you are shooting.
One of the biggest tips I’ve learned over time to help me not look awkward in my photos is to make sure my hands are always busy.
Hold a prop so you have something to do, run your hands through your hair, or find literally anything you can do so your hands aren’t hanging limply at your sides.
This will help you get a much more natural and less posed (looking) image!
Editing
You’ve finally finished your photoshoot at home and now it’s time to edit!
You’ll want to upload your photos from your camera to your laptop or phone (unless you shot them on your phone of course) in order to sort through them.
Never delete photos you don’t love right off the bat because they could just need a little editing, and you never know when you’ll want to revisit them!
I always save my photos from every shoot I do into dropbox.
It’s a great way to keep your photos in the cloud so you have access to them from anywhere!
Plus – with the unreliability of hard drives and changing technologies it’s best to keep everything in the cloud.
The top programs for editing on your computer
- Lightroom: Lightroom is my absolute go-to for editing all of my photos and I could not live without it. Although there is a free mobile version, I recommend getting a creative cloud membership which will give you access to Lightroom on both your laptop and mobile. This is the easiest for accessing your photos on all devices!
- Photoshop: If you’re looking to get into more complex editing, Photoshop is an excellent option. I am not a pro with Photoshop by any means, but I recently upgraded my Adobe Creative Cloud Membership to include Photoshop so I could start learning it!
The top apps for editing on your phone
If you are a little intimidated by editing and want to try some easier apps, these are my absolute favourite apps for editing:
- Lightroom: As mentioned above I cannot live without Lightroom. This is how I edit 100% of my photos and is definitely worth learning! You can download the free mobile version before upgrading to Lightroom Creative Cloud which will give you access to the program on your computer as well.
- Snapseed: An excellent and easy to use editing app with all sorts of features. I like to use the extend function in this app as an easy way to extend the sides of my photos if they aren’t framed the way I want them to be.
- Touch Retouch: The easiest way to remove people (and other things) from the backgrounds of your photos. This is basically a one touch solution to getting rid of pesky things you don’t want in your photos!
- Picsart: A great app with lots of creative options for you to play around with. PicsArt helps you do a lot of things Photoshop can do, but in an easier way right from your phone.
- Tezza App: Lots of influencers like to use this app because of the easy one touch function to get a beautiful retro aesthetic on your photos.
- Katie One App: Another great app with fun retro filters that will make your photos beautiful in one touch!
Final Thoughts on How to do a Photoshoot at Home by Yourself
I hope you found this guide useful and it answered your questions on how to do a photoshoot at home by yourself!
Shooting photos by yourself can be a little tricky in the beginning, but with a little practice you will be well on your way to being a photography pro!
The best part about learning to do your own photoshoots is that you never have to rely on others’ availability or time.
You will be in complete control of the content you create and be able to shoot your own photos at home whenever you are free!
If you’re looking for some creative photoshoot ideas to inspire your next shoot check out these posts:
- 40 Easy Instagram Poses to try for your next Photoshoot
- 33 Creative Home Photoshoot Ideas to Try Now
- 20 Outdoor Photoshoot Ideas – Easy Backyard Photography Guide
- 22 Stunning Spring Photoshoot Ideas
- 20 Creative Fall Photoshoot Ideas
- 22 Creative Winter Photoshoot Ideas
- 11 Creative Solo Valentine’s Day Photoshoot Ideas


Be sure to keep up with me on Instagram, Pinterest, TikTok and Facebook if you aren’t already!
Feel free to subscribe to my weekly newsletter to get my blog posts, updates, and special offers delivered right to your inbox 🙂


Sunita Sen
Wednesday 12th of May 2021
This blog post about taking own photos at home with help of a tripod is very useful. You have explained it so well. Thank you for sharing with us all
Kirsten Wendlandt
Thursday 13th of May 2021
Hi Sunita, I'm so happy you found this post useful! If you don't have a tripod you can definitely prop your camera or phone on top of a table, stack of books, boxes or other furniture instead :). Although I definitely recommend invest in a tripod eventually as it makes the shooting process much easier!