Thinking of putting up a gallery wall in your apartment or home? This Desenio Review with a step by step guide on how to design and install a gallery wall is for you!
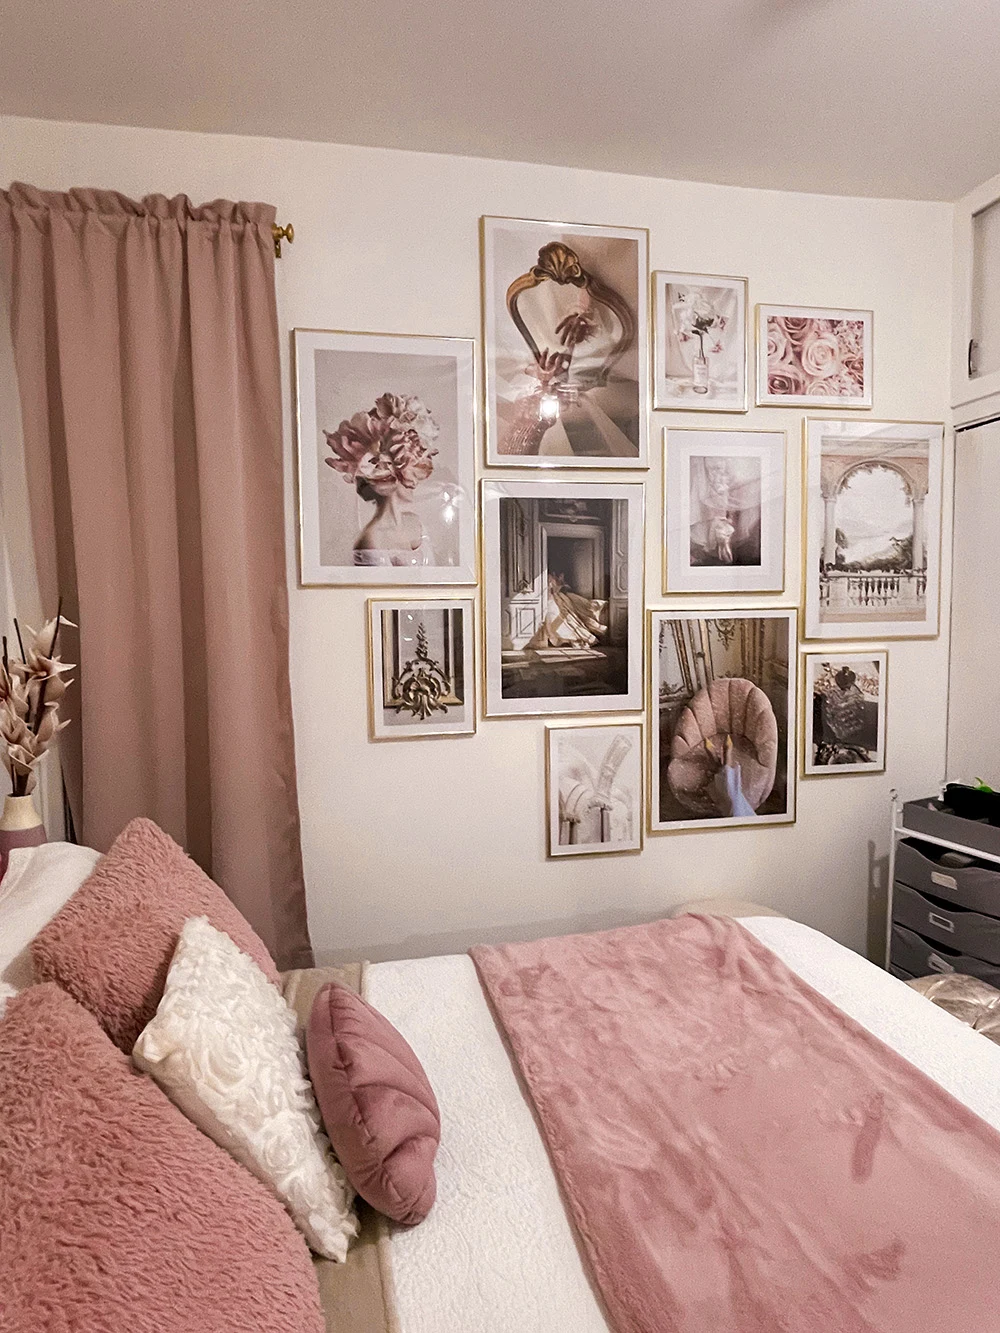
I recently put up an incredible gallery wall in my bedroom that absolutely transformed it.
I was not only thrilled with the results, but also how easy the process was thanks to Desenio.
Since I was so pleasantly surprised, I wanted to put together this step by step guide on how I designed and installed my gallery with Desenio, as well as a full Desenio review to help you plan your own gallery wall.
You’ll quickly see why I was so impressed with Desenio.
By the way – you can use code XKIRSTENW on the Desenio website for 10% off your entire purchase
Firstly, a little backstory
I recently moved to Montreal into my first apartment. Well, first solo apartment.
I’ve always had a roommate before and now I live in my first apartment on my own which is pretty exciting stuff.
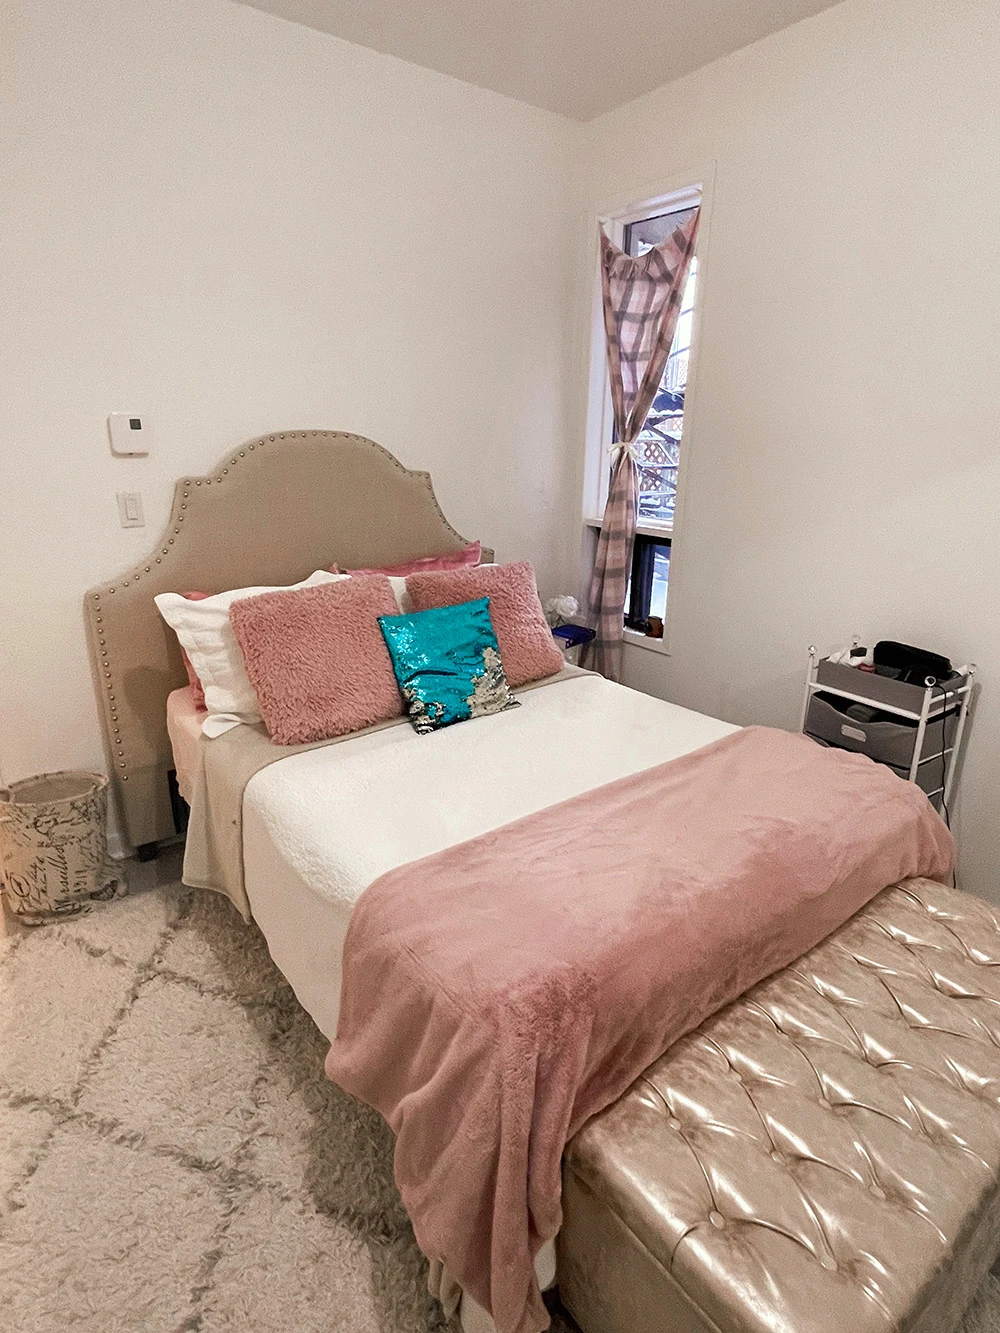
Needless to say I’ve been absolutely consumed with all things interior design and decorating to make my apartment my own.
One of my absolute favourite things I’ve done to my apartment was put up a gallery wall in the bedroom.
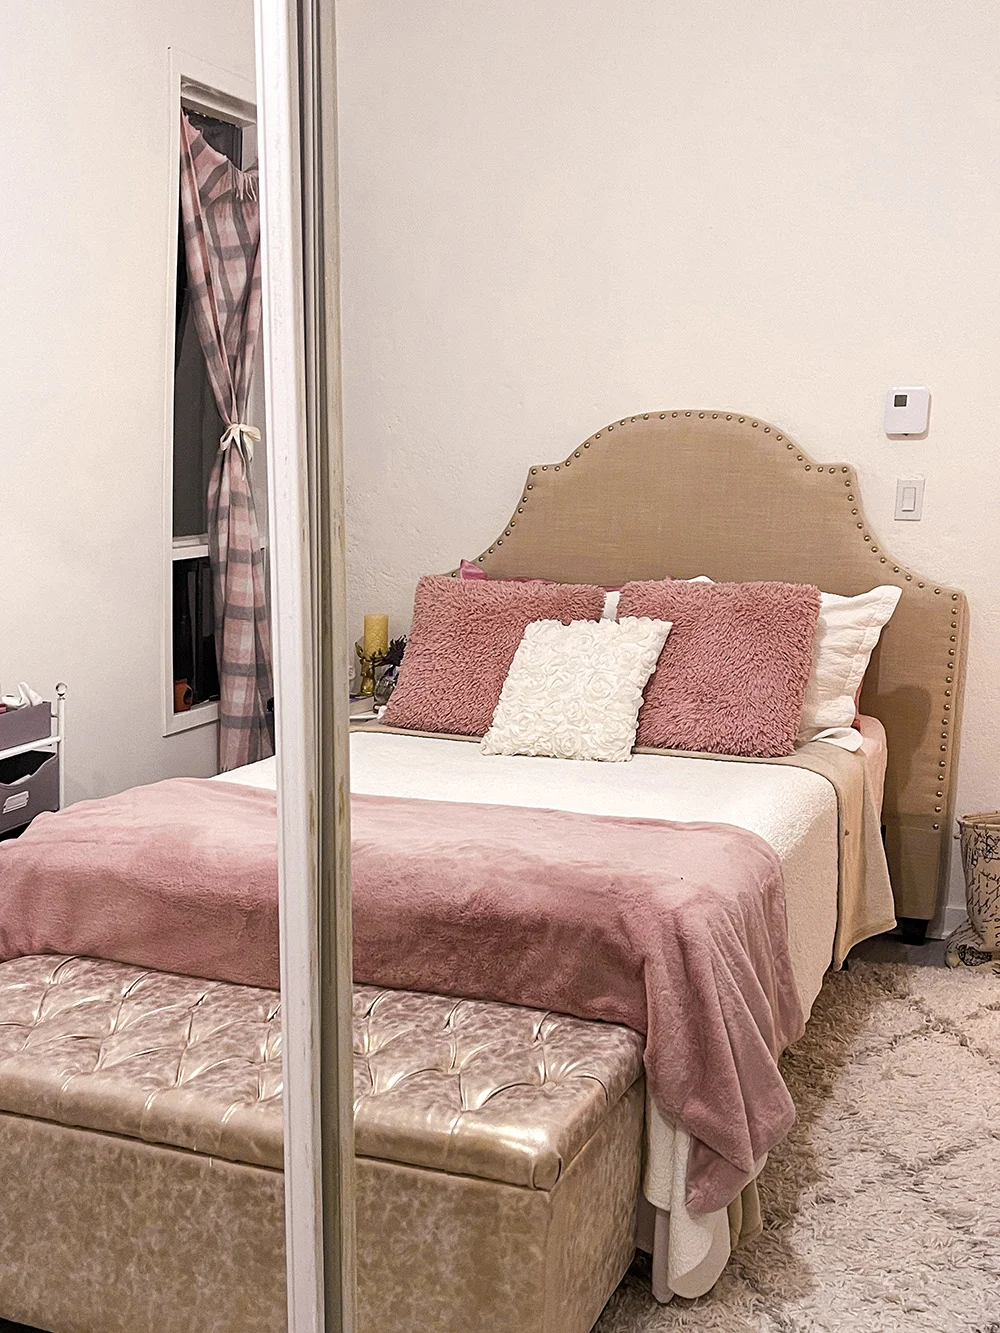
It’s amazing how much a gallery wall can really transform your space and bring everything together.
I’ve always wanted a gallery wall, but I’ll admit the task seemed pretty daunting to me so I avoided it till now.
Figuring out which prints to pick, making sure they all looked good together, figuring out the sizing and space, and then installing it all properly seemed like a lot of work!
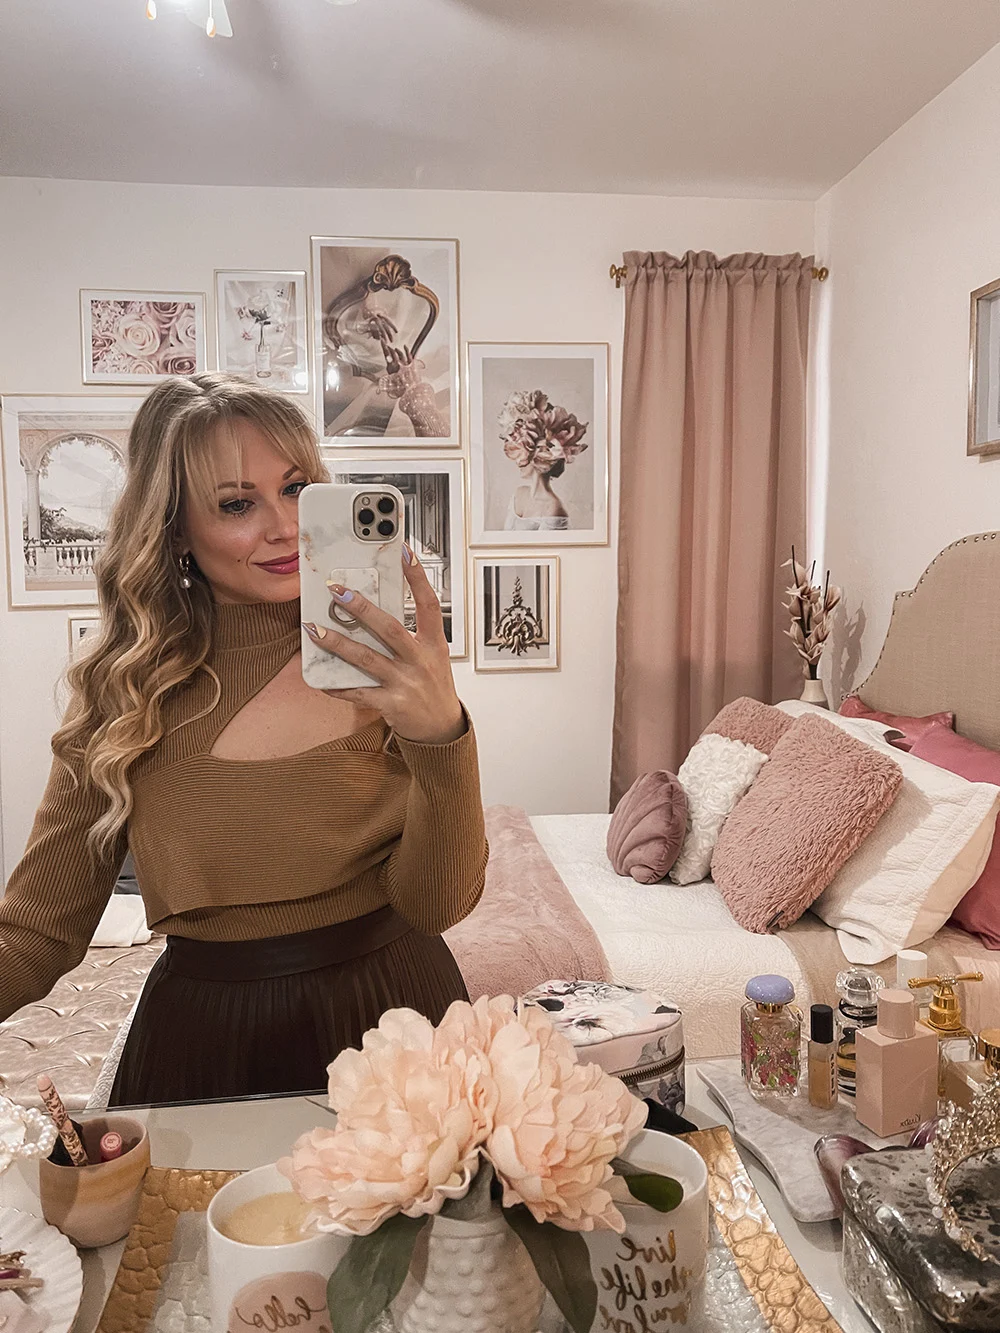
Although the task of designing and setting up a gallery wall isn’t the easiest, Desenio definitely made the process so much easier.
In fact so much so, that I ended up putting a gallery wall up in my living room right after!
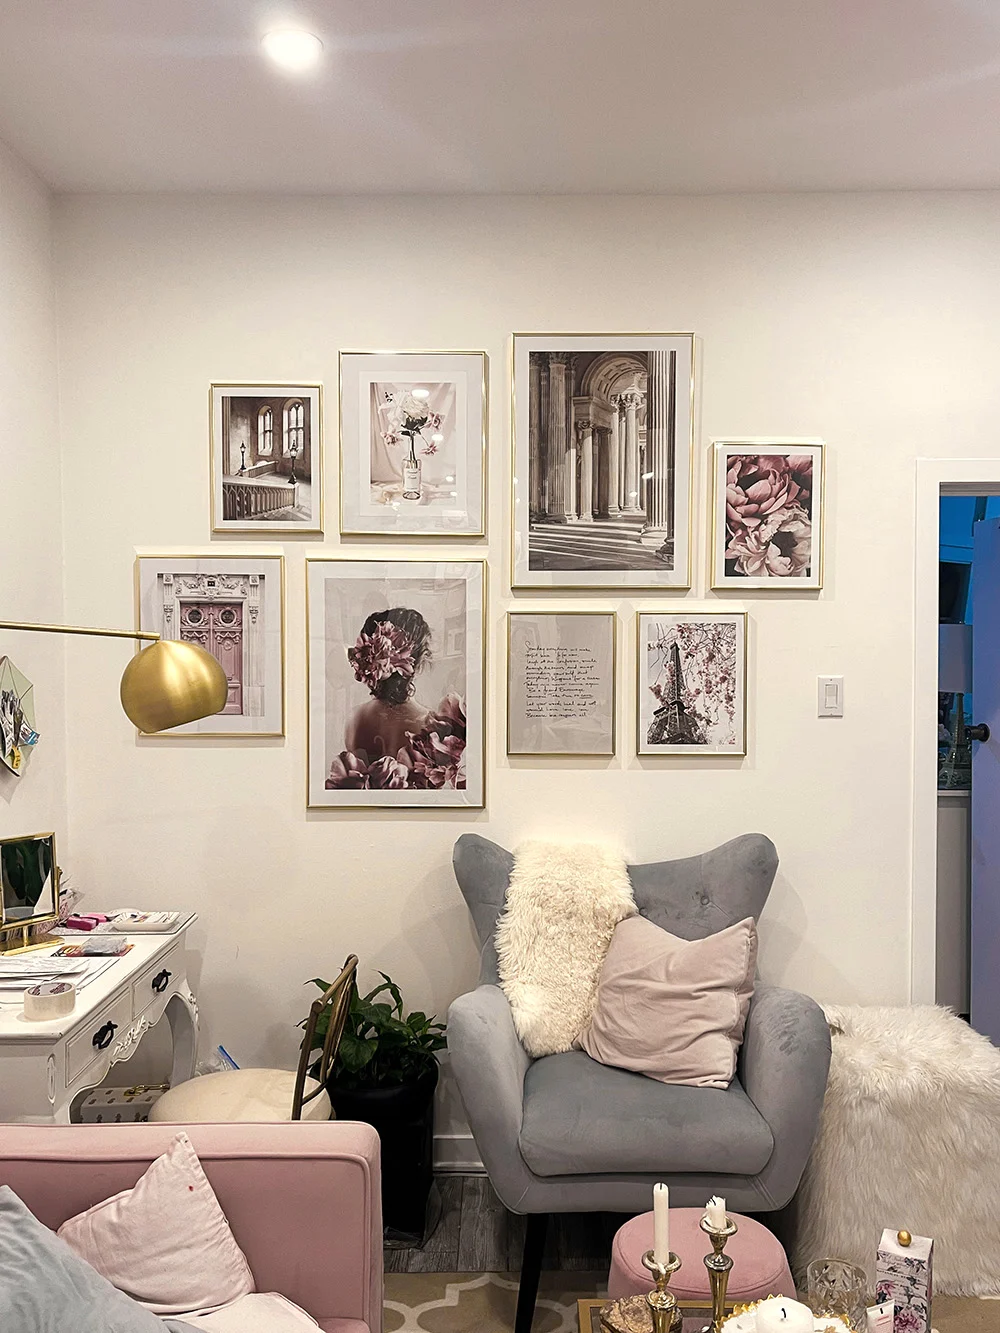
I will now never be intimidated to put up a gallery wall again, and will hands down purchase all my gallery wall art and frames from Desenio in the future.
Their prints are just so beautiful!
About Desenio
Based out of Switzerland, Desenio is passionate about interiors and specifically, Scandinavian design.
They sell stylish wall art that is affordable for everyone.
At Desenio, you will not only find a wide selection of posters in all sorts of themes, styles, and colors, but also beautiful frames that are easy to install.
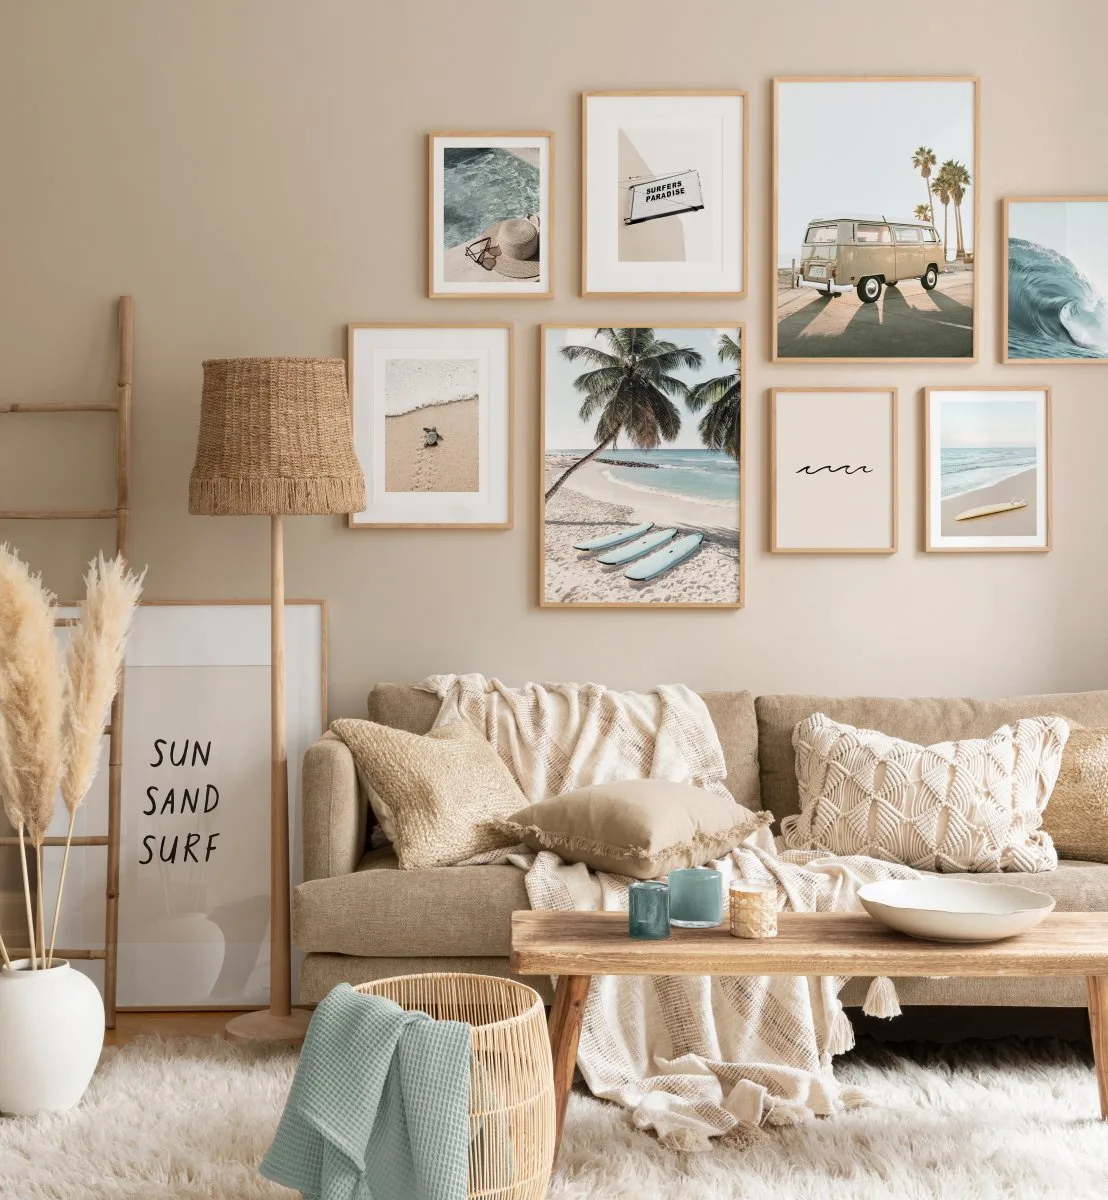
Desenio and their incredible selection of art, frames, and their amazing gallery wall designer made the entire gallery wall process a lot easier for me.
I know even though I say it was easy, the process can definitely be intimidating.
I decided to put together this step by step guide on exactly how I designed and installed my Desenio gallery wall to help make the process easier for you.
Don’t forget to use code XKIRSTENW on the Desenio website for 10% off your entire purchase
Designing your Gallery Wall with Desenio
Here is a step by step guide on how to design and install your Desenio gallery wall.
Whether you decide to do yours with Desenio or not, hopefully this helps make the gallery wall process just a little bit easier for you!
Measure the wall you would like your gallery wall on
It might seem like common sense but I actually designed my entire gallery wall before I realized I had mis-measured my wall!
Make sure to properly measure the wall or area where you would like to hang your gallery wall so that you know the space you have to work with.
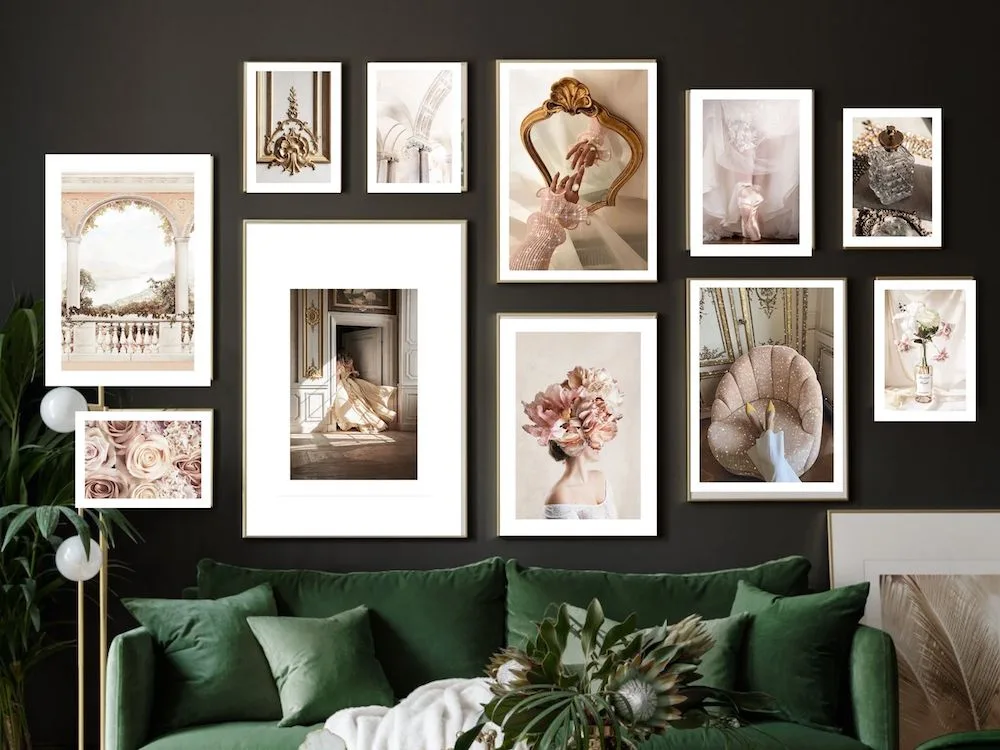
I had designed an entire gallery wall that was not going to fit my bedroom, and already ordered all the prints and frames!
I was stuck trying to use Canva to move the prints around until I could put them in a way that would fit my wall – that was hell (although I did finally figure it out).
If there is one thing you take with you from this Desenio review, please let it be this. Measure, measure, measure!
Select a gallery wall layout that will fit your wall
Now that you know the measurements you are working with, it’s time to pick out a gallery wall layout that you like.
There are 4 ways that you can do this
Design your own gallery wall layout
Although you can design one on your own, this is a lot more work and there’s more room for error.
It’s really hard to figure out what will look good and to pick out the right sizes that will work together.
If you want to make the process either I recommend one of the next two ways.
Use Desenio’s Gallery Wall Tool
Desenio has an incredible gallery wall tool that makes picking a gallery wall layout super easy.
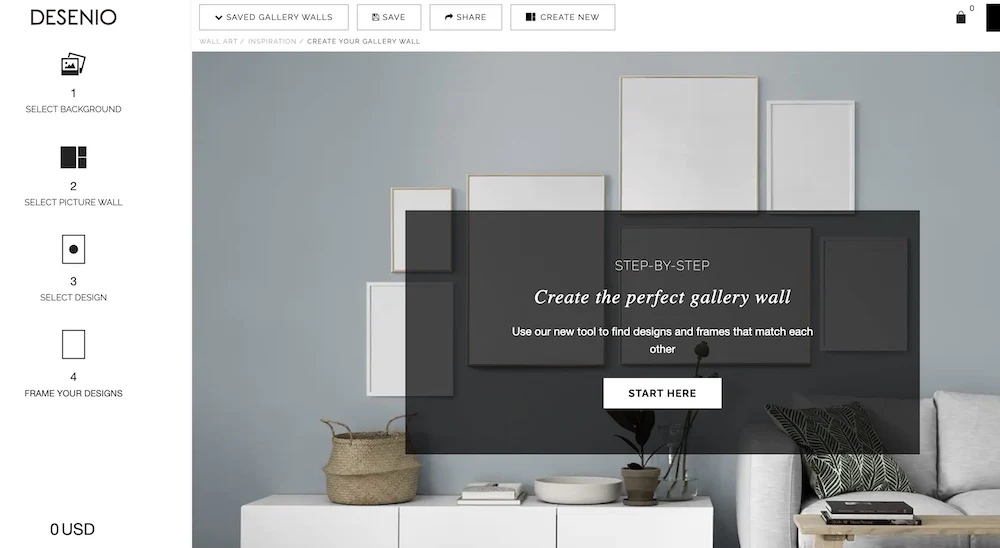
All you have to do is pick a layout you like that will fit your measurements!
You will even be able to insert the prints you like once you have selected them to see how it all looks together.
Purchase one of Desenio’s pre designed gallery walls
Desenio really is a pro when it comes to designing beautiful gallery walls, and if you really want the easy way out you can just pick a complete gallery wall design from them!
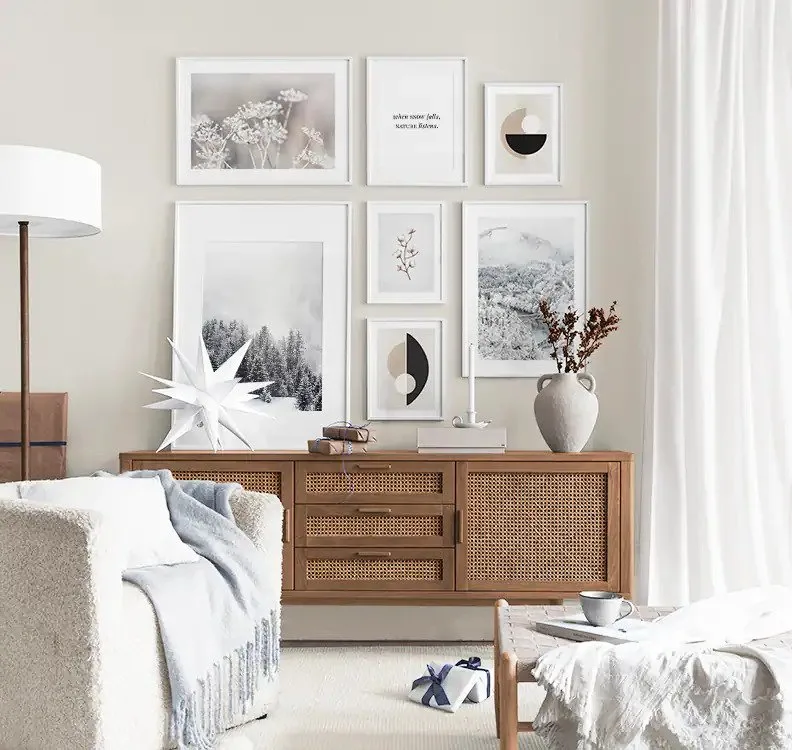
They have all the exact prints and frame sizes picked out for you, so there really is no thinking involved except making sure the measurements will fit your space.
You can check out their pre designed gallery walls here.
Pick a Gallery Wall from Desenio’s Pre-made Gallery Wall tab and use that layout to design yours
Desenio’s gallery wall tool is great for simpler gallery wall layouts, but if you’re like me you might be wanting to go with something a little more crazy with a lot more prints.
I used 11 prints in total for my bedroom gallery wall!
If you want a more intricate gallery wall or one with more pieces, have a look at Desenio’s gallery wall tab of pre designed gallery walls and pick a layout you love!
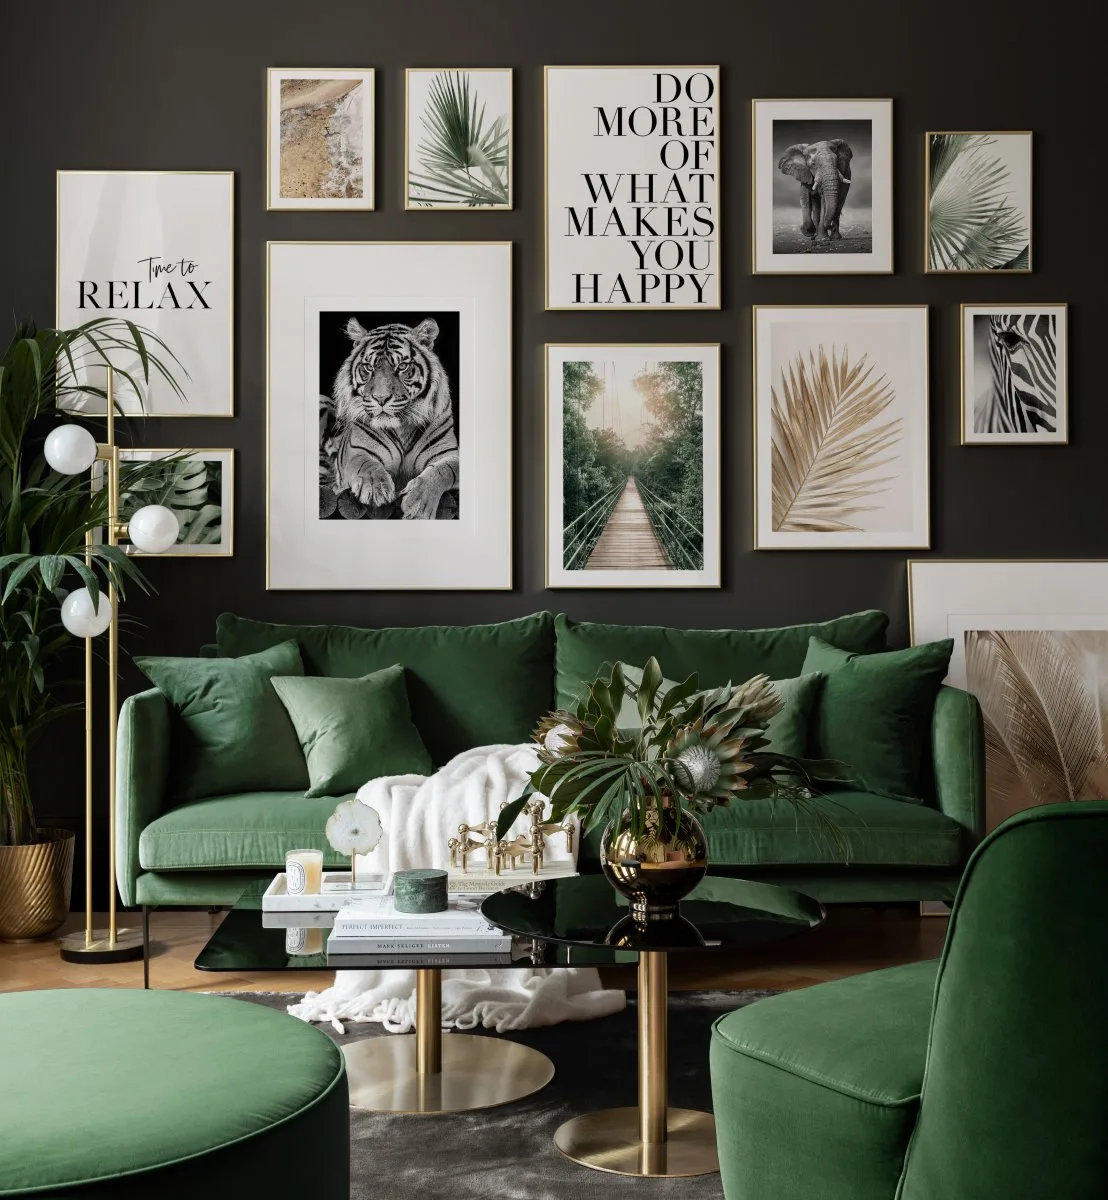
You can see the measurements of each print they used for the layout, so it will be easy to figure out if this layout will fit your space.
Once you find a pre designed gallery layout picked out, you can use that layout to design your own with the prints you like.

I did this in Canva by simply uploading a screenshot of Desenio’s gallery wall, and adding screenshots of all the prints I loved overtop of each print.
This gave me the chance to play around with different sizes for different prints and figure out what looked best.
Pick out your favourite prints
Now for the fun part – picking out all your favourite prints!
The easiest way to do this is just scour the Desenio website and “heart” all the prints you love.
Once you’re done go to your favourites and have a look at them. You’ll start to see the overall vibe you’re going for.
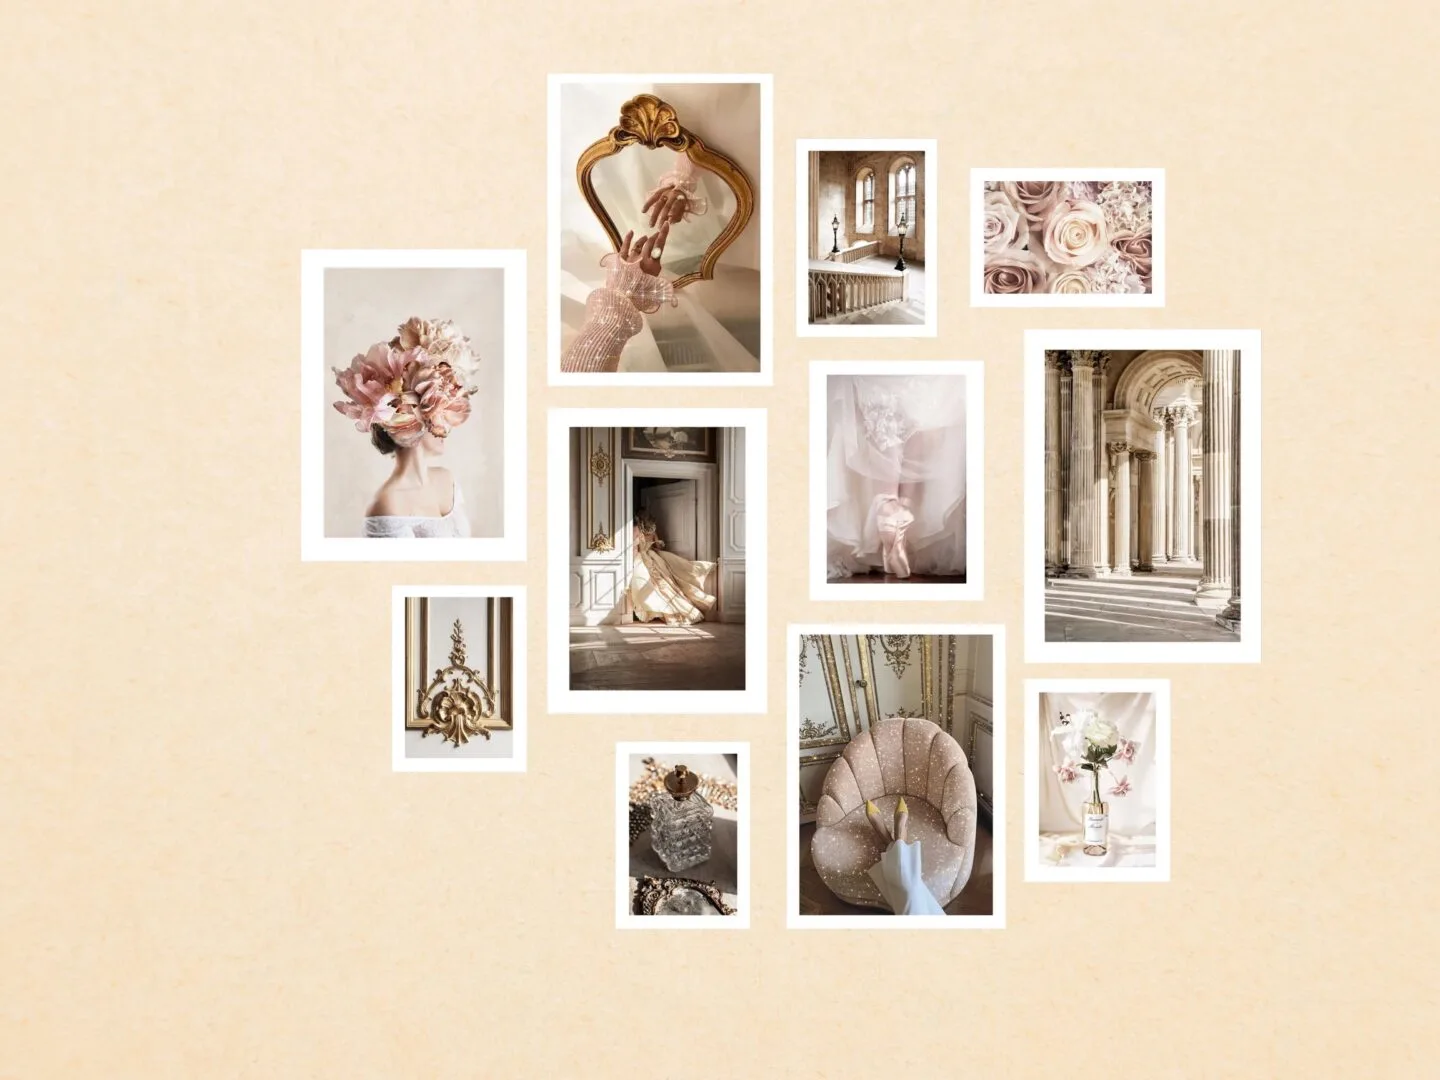
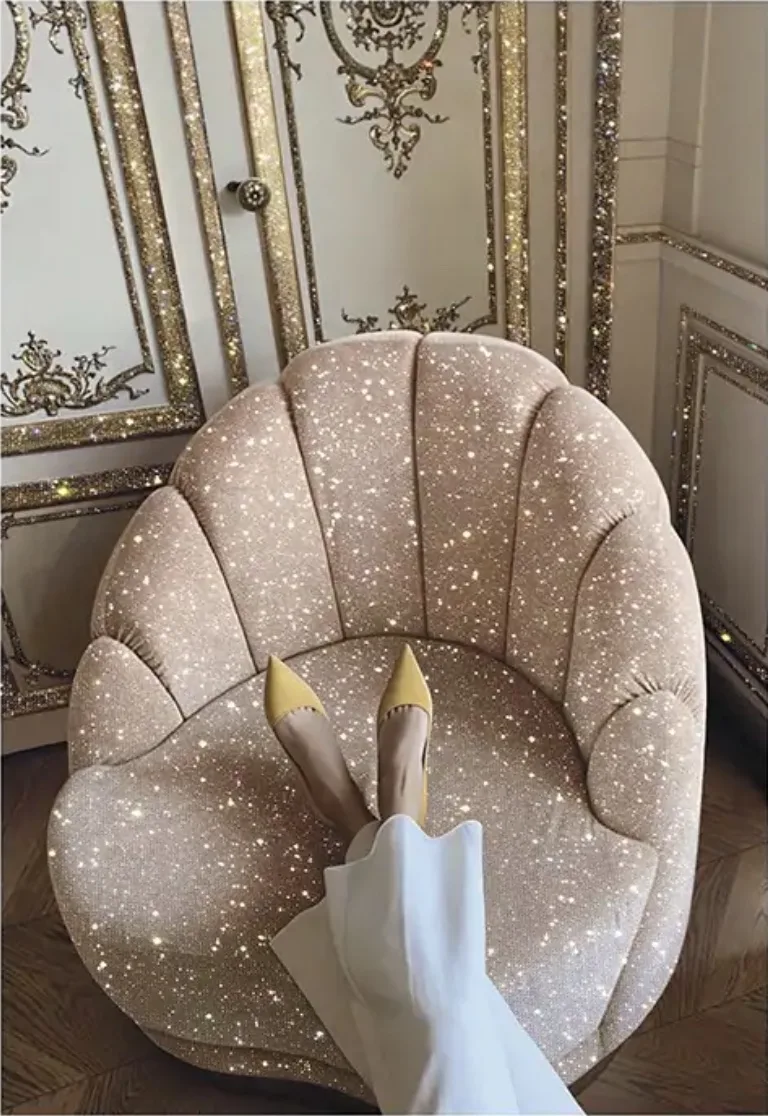
Here are the posters I used to make my gallery wall. I love them all so much!
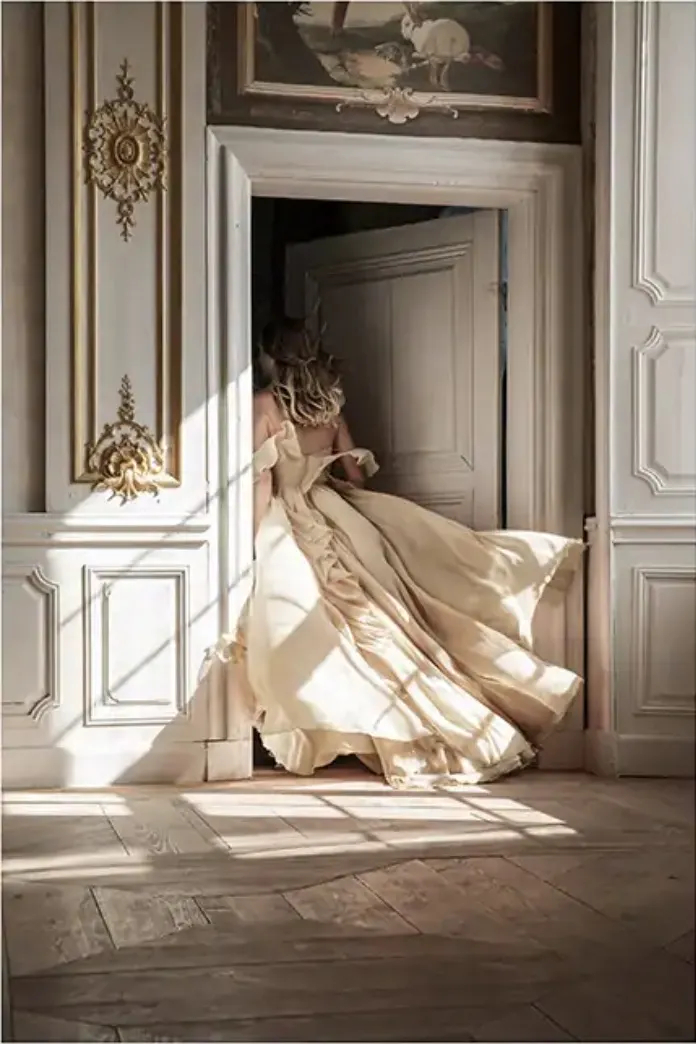
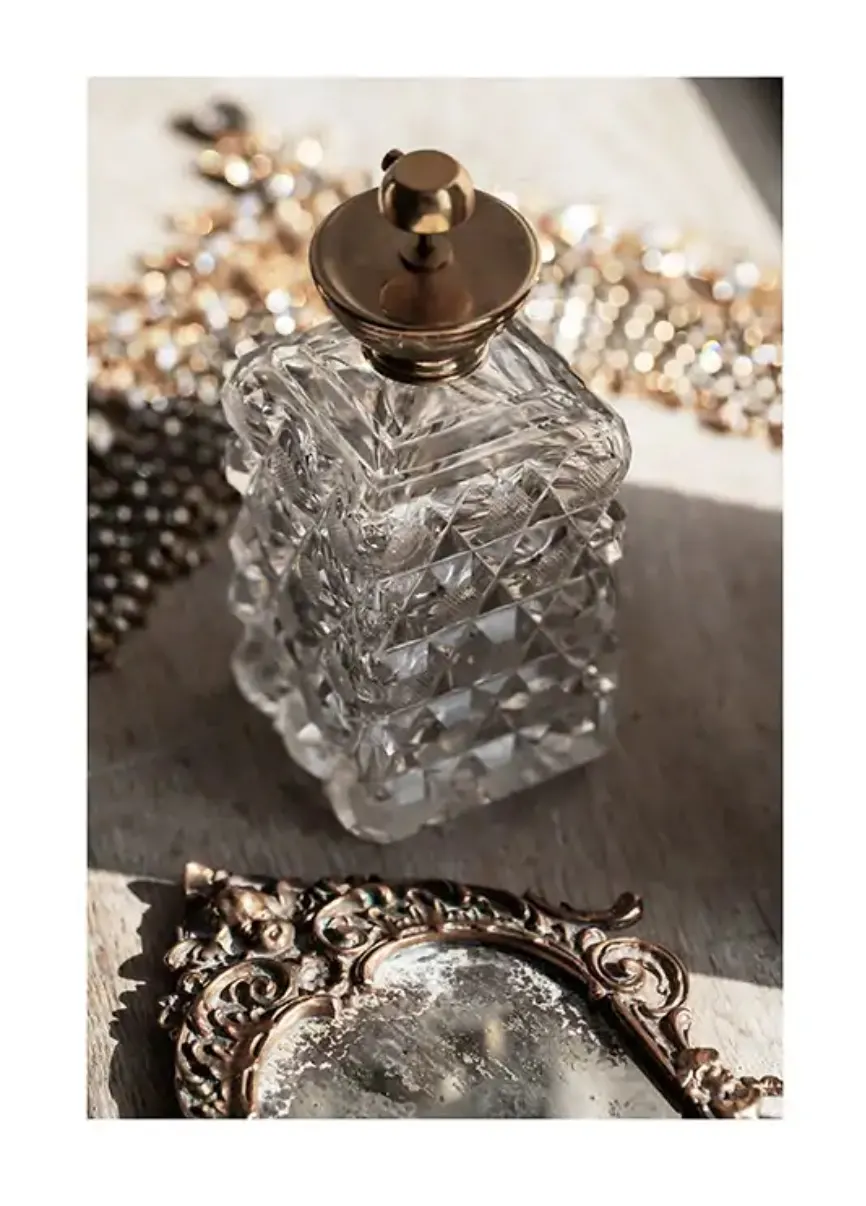
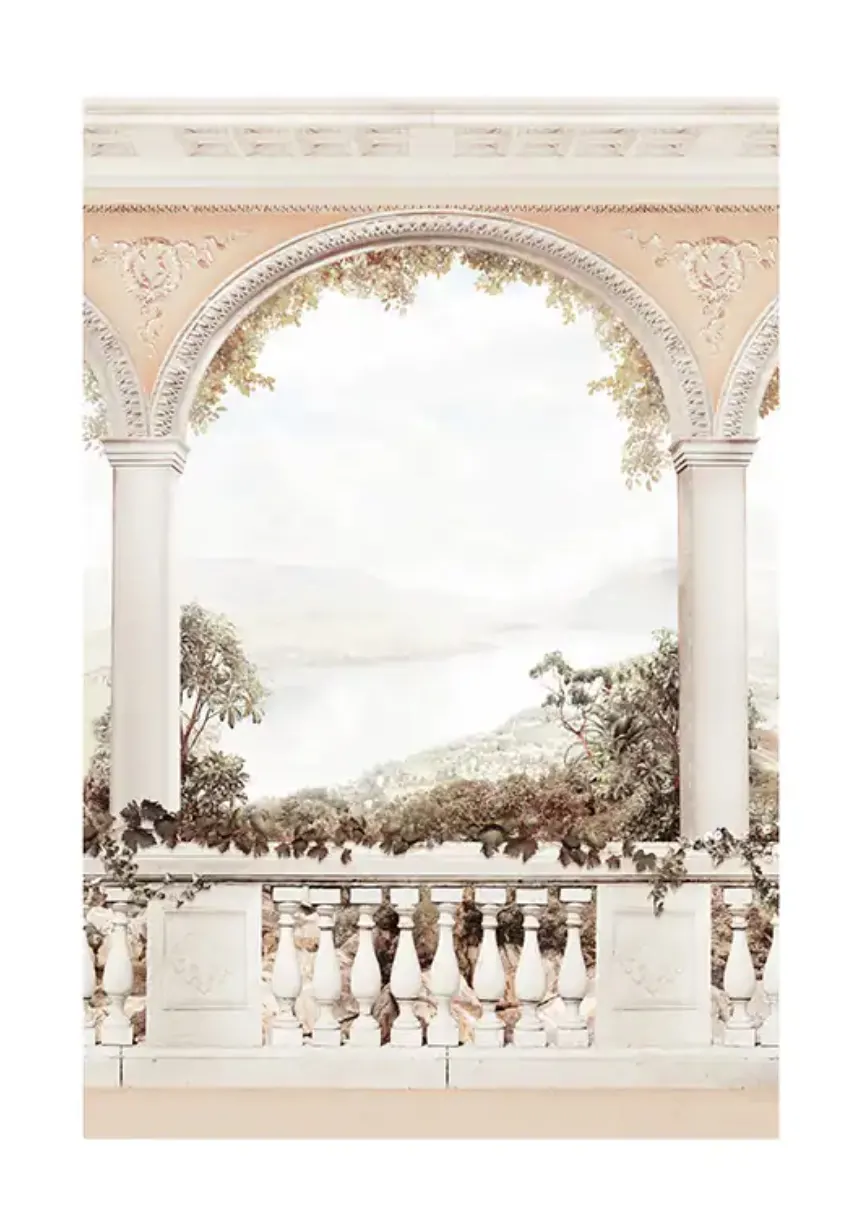

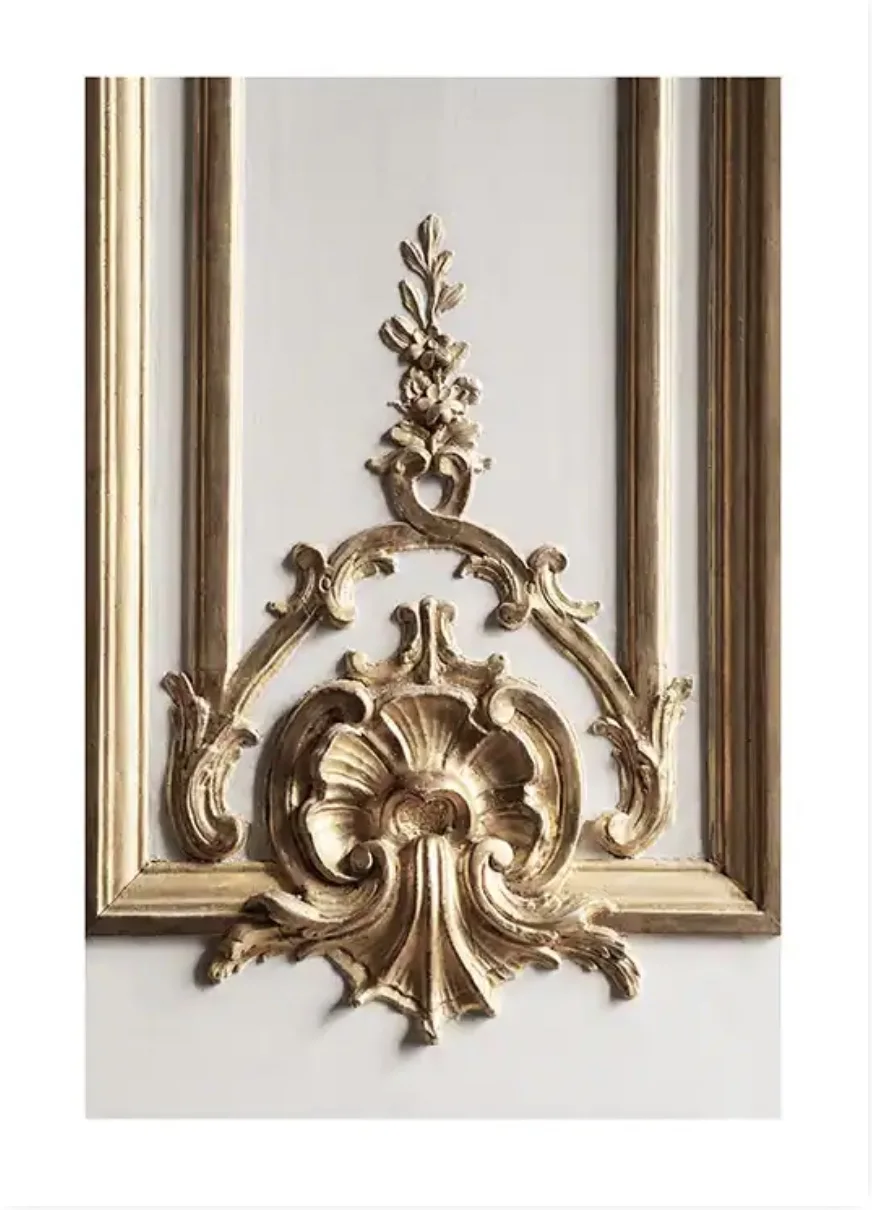


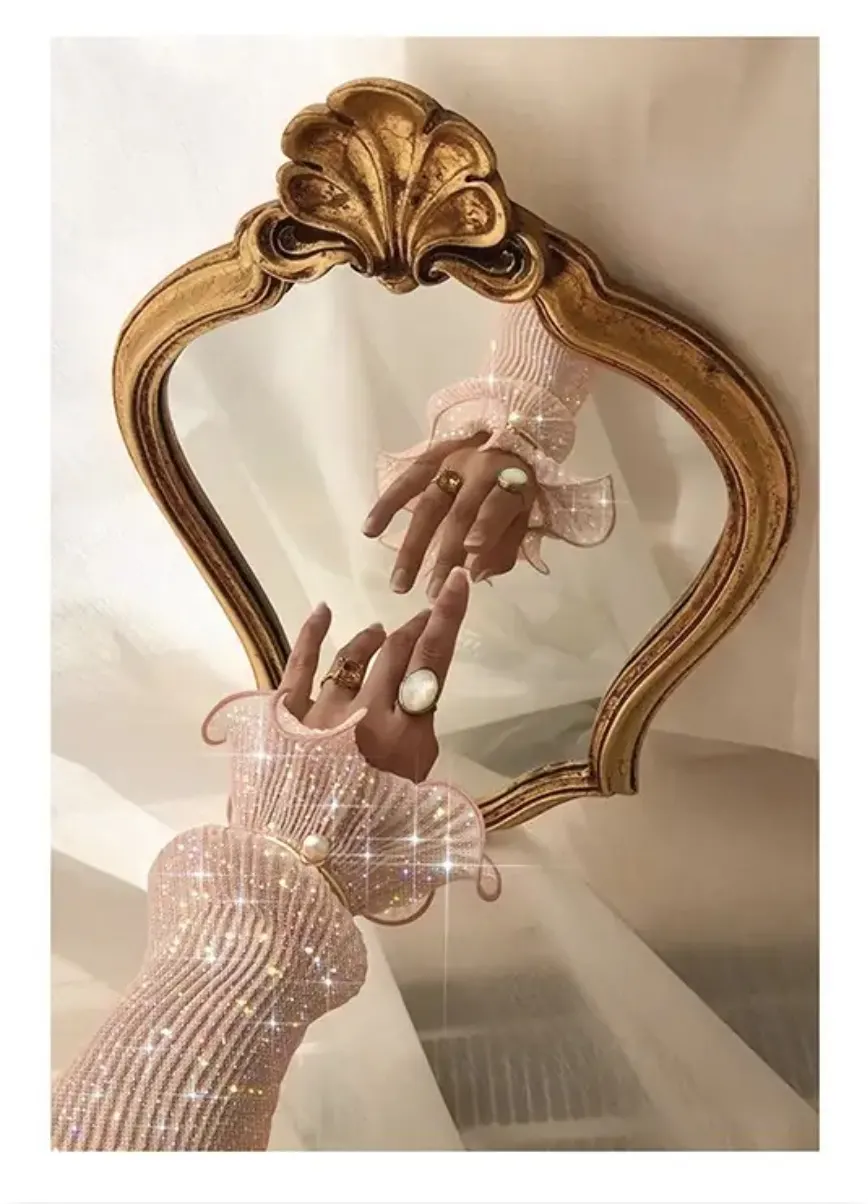
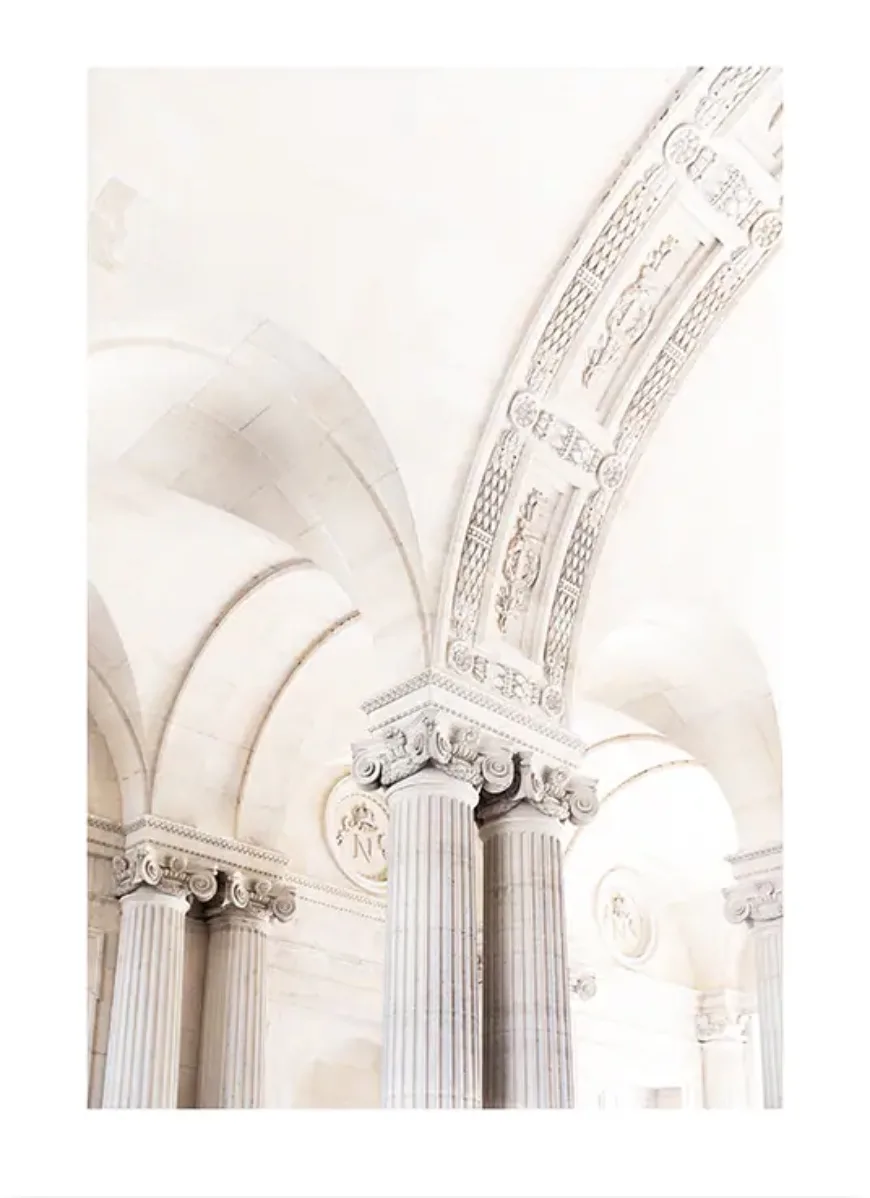
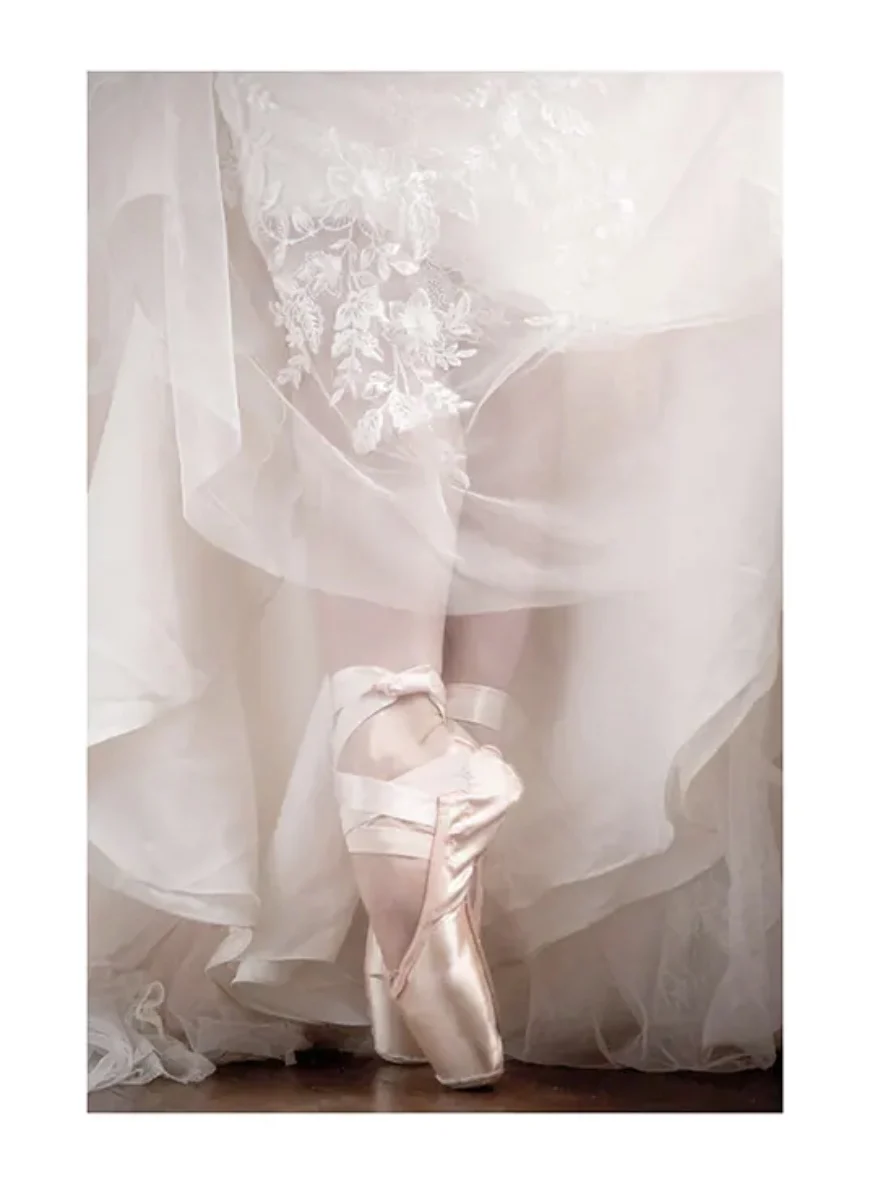
Use the gallery wall tool or Canva to figure out which prints you need in which sizes
Now you can either insert your favourite prints into Desenio’s gallery wall tool, or add them into Canva like I mentioned above.
Play around with the look and prints until you find a finished look you love.
If you used Desenio’s gallery wall tool you will know exactly what sizes of each poster you need.
If you picked one of Desenio’s pre made gallery wall layouts, just refer back to their original one to see which sizes you need for each of your prints.
Decide what kind of frames you would like
Now that you have your prints selected and know the sizes you need, it’s time to pick out your frames!
Desenio has a great selection of frames to pick from and I love how they make it easy for you by being able to order everything in one place.

If I was to give you an honest Desenio frames review, I love how they are not only easy to install but they are very light and aesthetically pretty.
Because the frames so light, you can hang even the larger ones with just a small picture nail which is great for those who rent their place like I do.
They are also not real glass so they are a lot less fragile!
I picked all gold frames from Desenio for my gallery wall and I just love how they look.
Order your prints and frames
So you’ve picked your prints and frames and added them to your basket.
Now it’s time to order them!
Don’t forget to use code XKIRSTENW on the Desenio website for 10% off your entire purchase
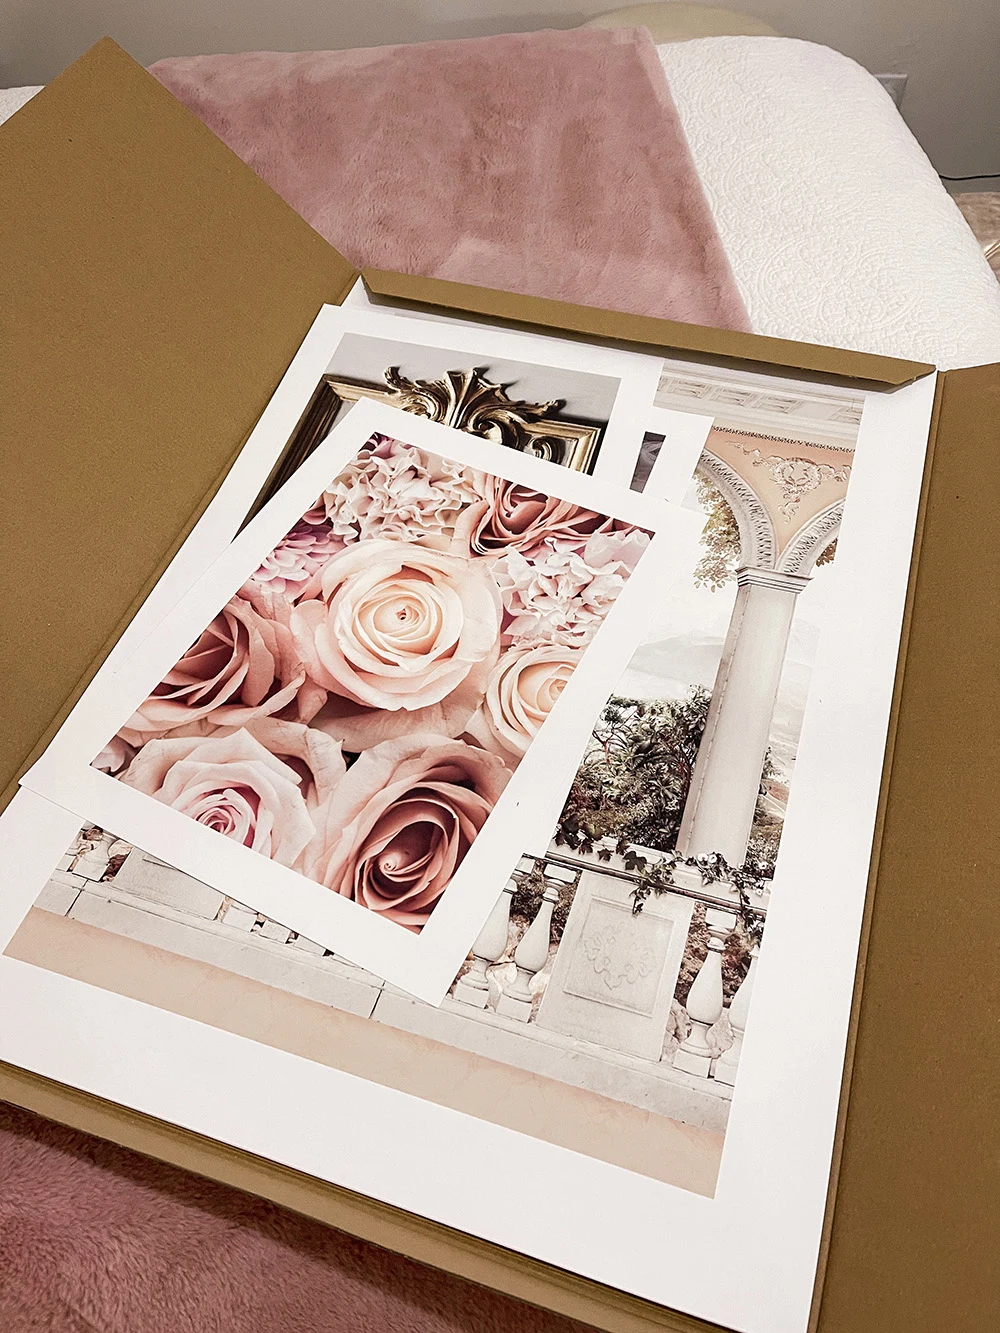
Because Desenio does ship their product from Switzerland, you have to expect duties on your order.
I think it’s really important to know this in advance so you can factor in that cost!
Another tip for you is to wait till Desenio has a sale.
Although their frames never go on sale (from what I’ve seen), their prints often do.
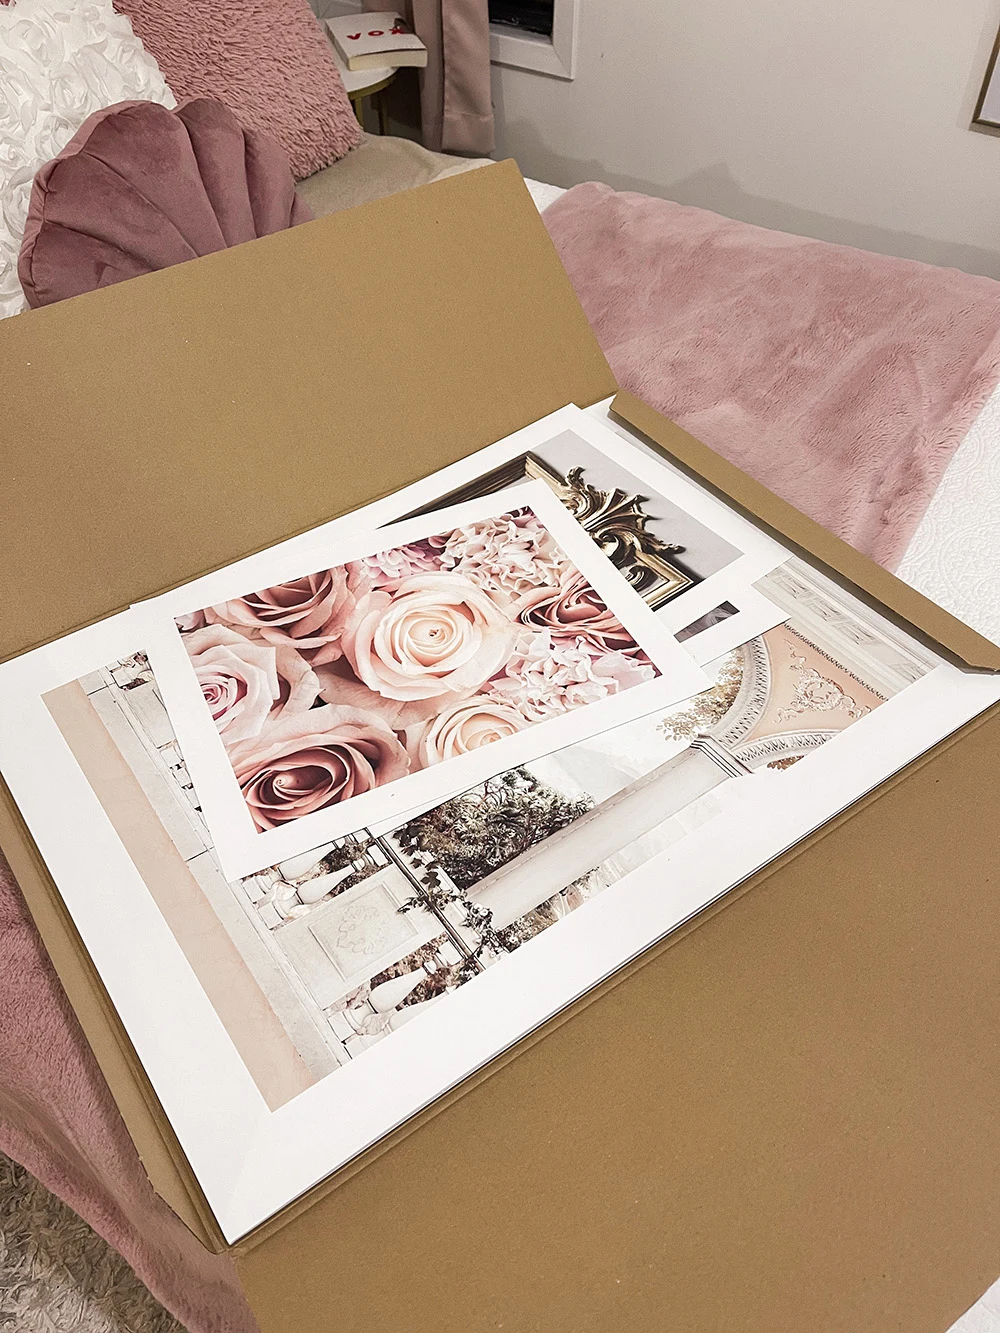
You can often get 4 for 2 on the posters which will help you save a nice chunk of change.
Map out your gallery wall with painter’s tape
This step is a very important step that will not only make installing your gallery wall and hanging the frames a lot easier, but it gives you a chance to get the design, layout, and measurements perfect before you go ahead and make any holes in the wall.
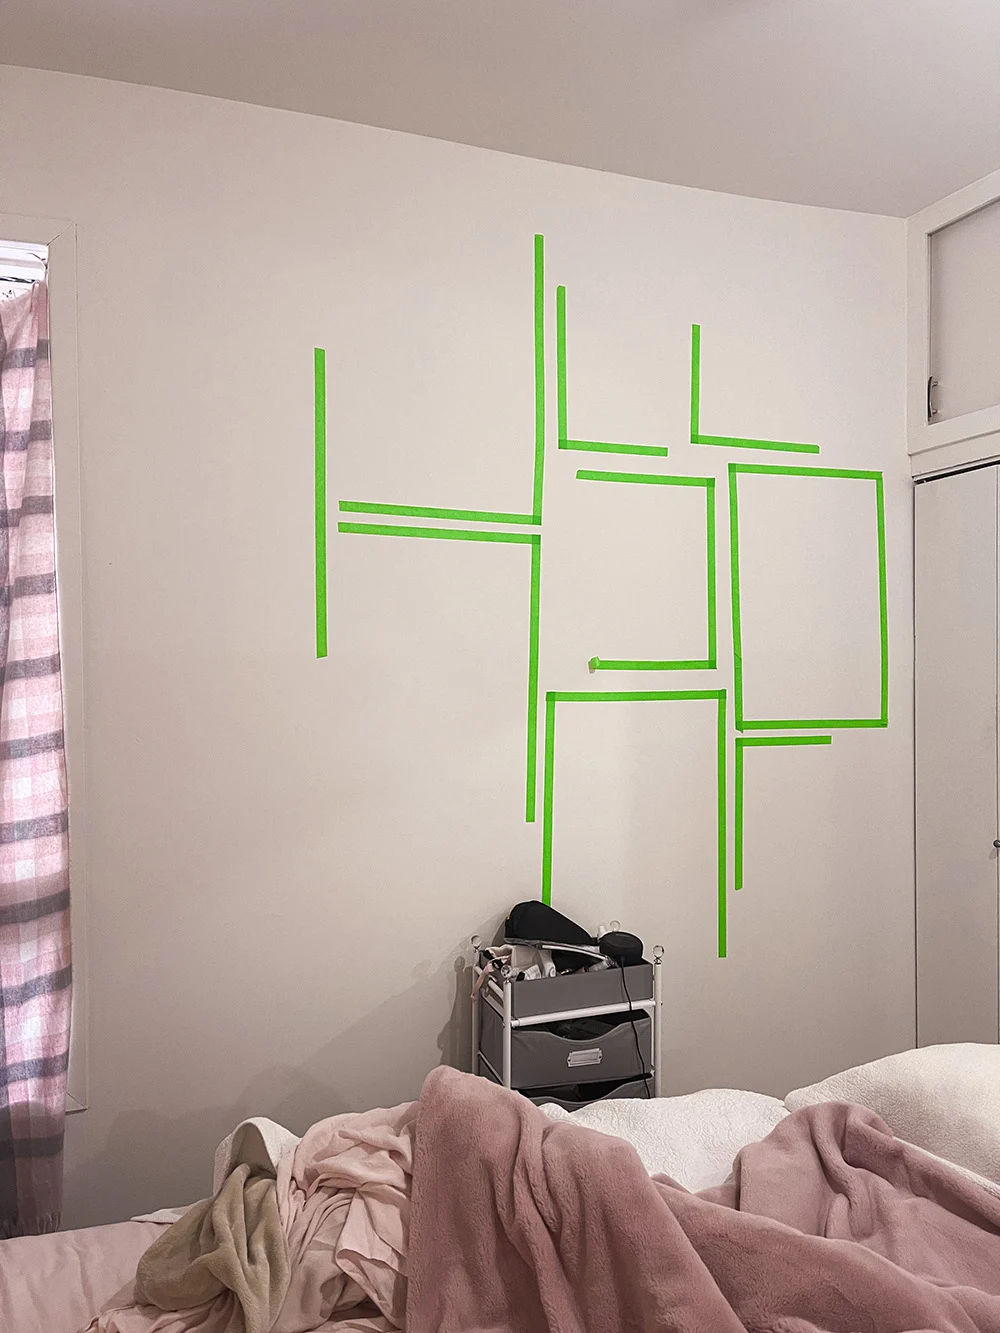
If you are using Desenio frames, I just want to note that the frames are 1cm wider and 1cm taller than the sizes indicated on the site, so keep this in mind when cutting your tape to the right sizes.
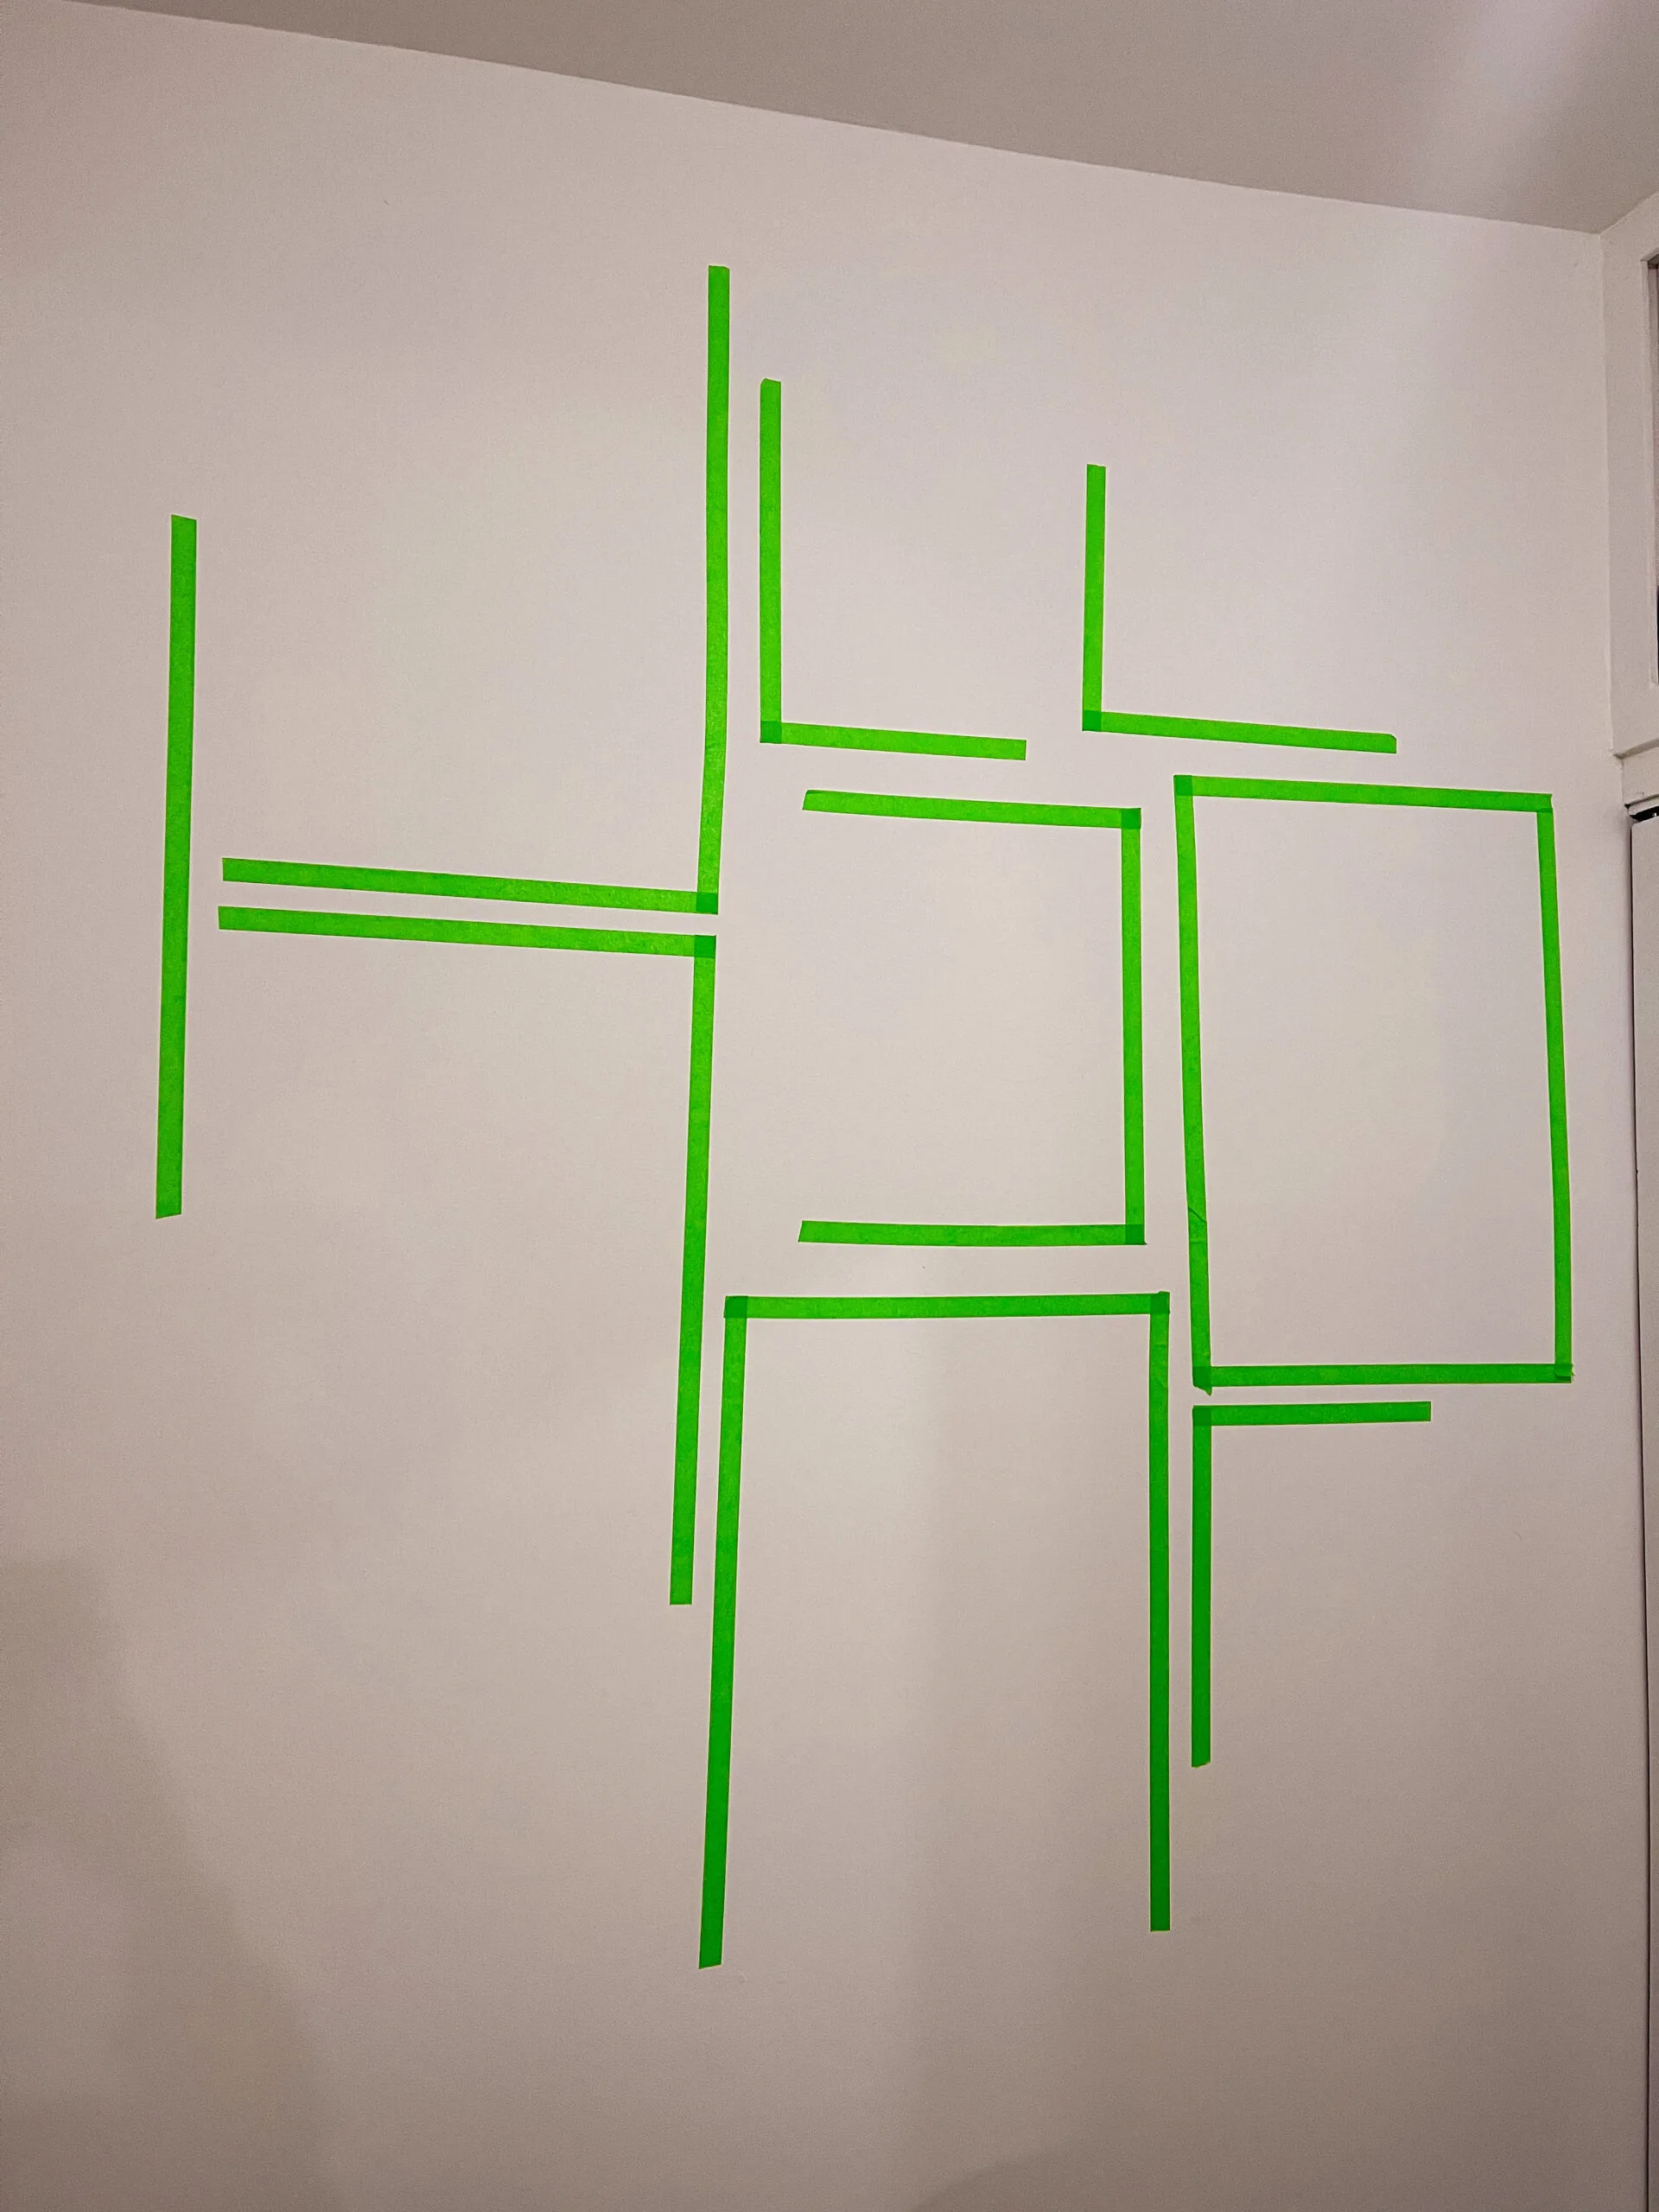
Now you can just go ahead and place the tape on the wall!
An easy way to make your gallery wall very cohesive is to ensure you have the same spacing between each frame. I found a 4-6cm gap worked really well!
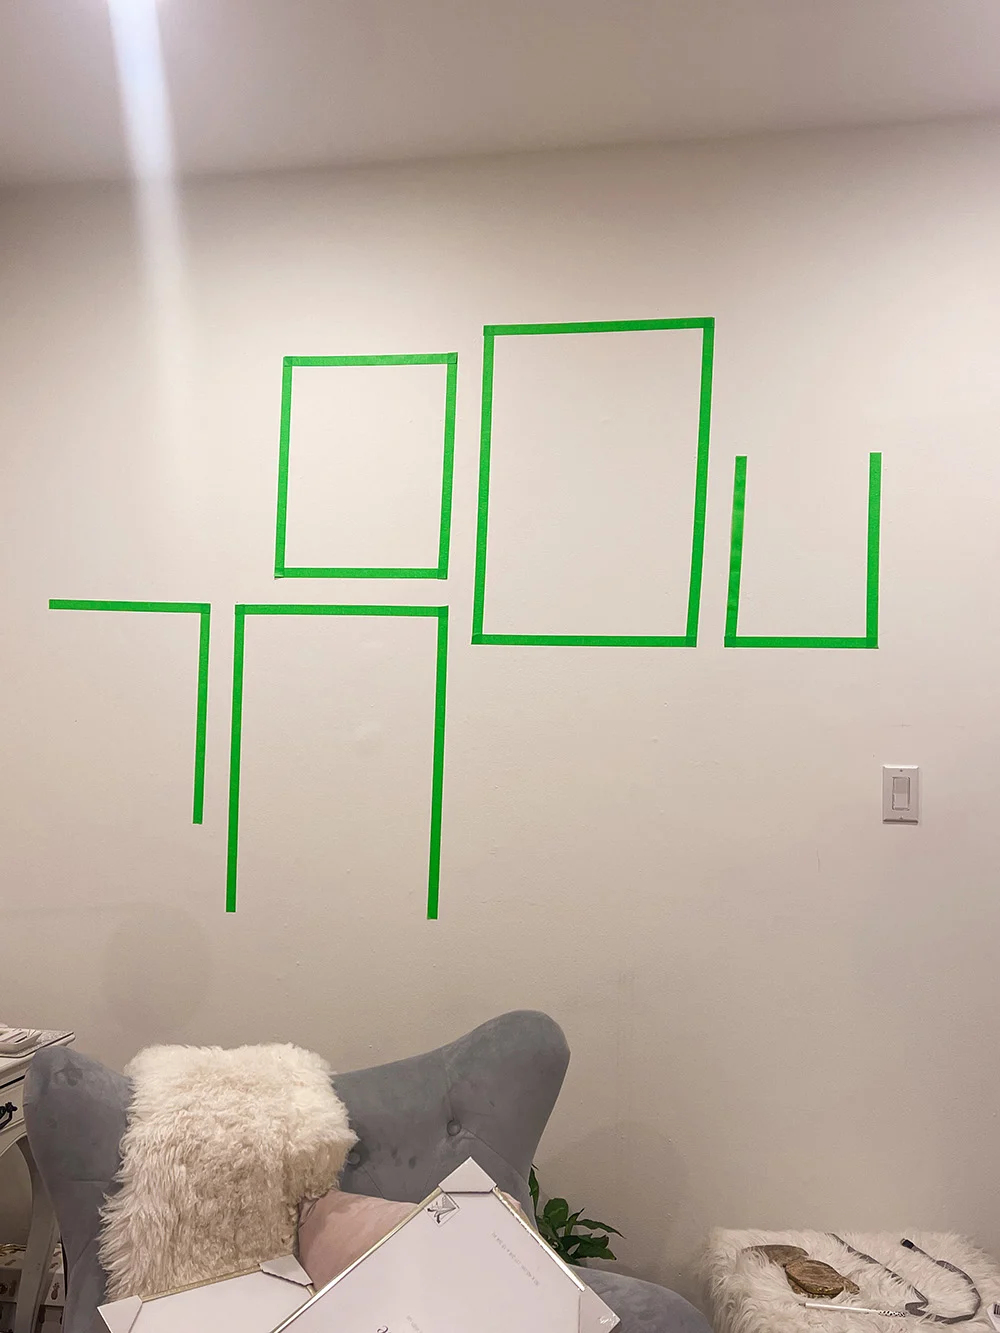
Put your posters into the right sized frames
Now that you have finally received your Desenio posters and frames, you’ll want to put the posters in the frames.
Don’t forget to remove the plastic film from both sides of the “glass”.
Measure your nail points on the wall and mark with pencil
Because you already mapped out your gallery wall on the wall with painters tape the installing process will be a whole lot easier.
You will want to find the centre point at the top of each frame, and go down 8.75cm from that spot.
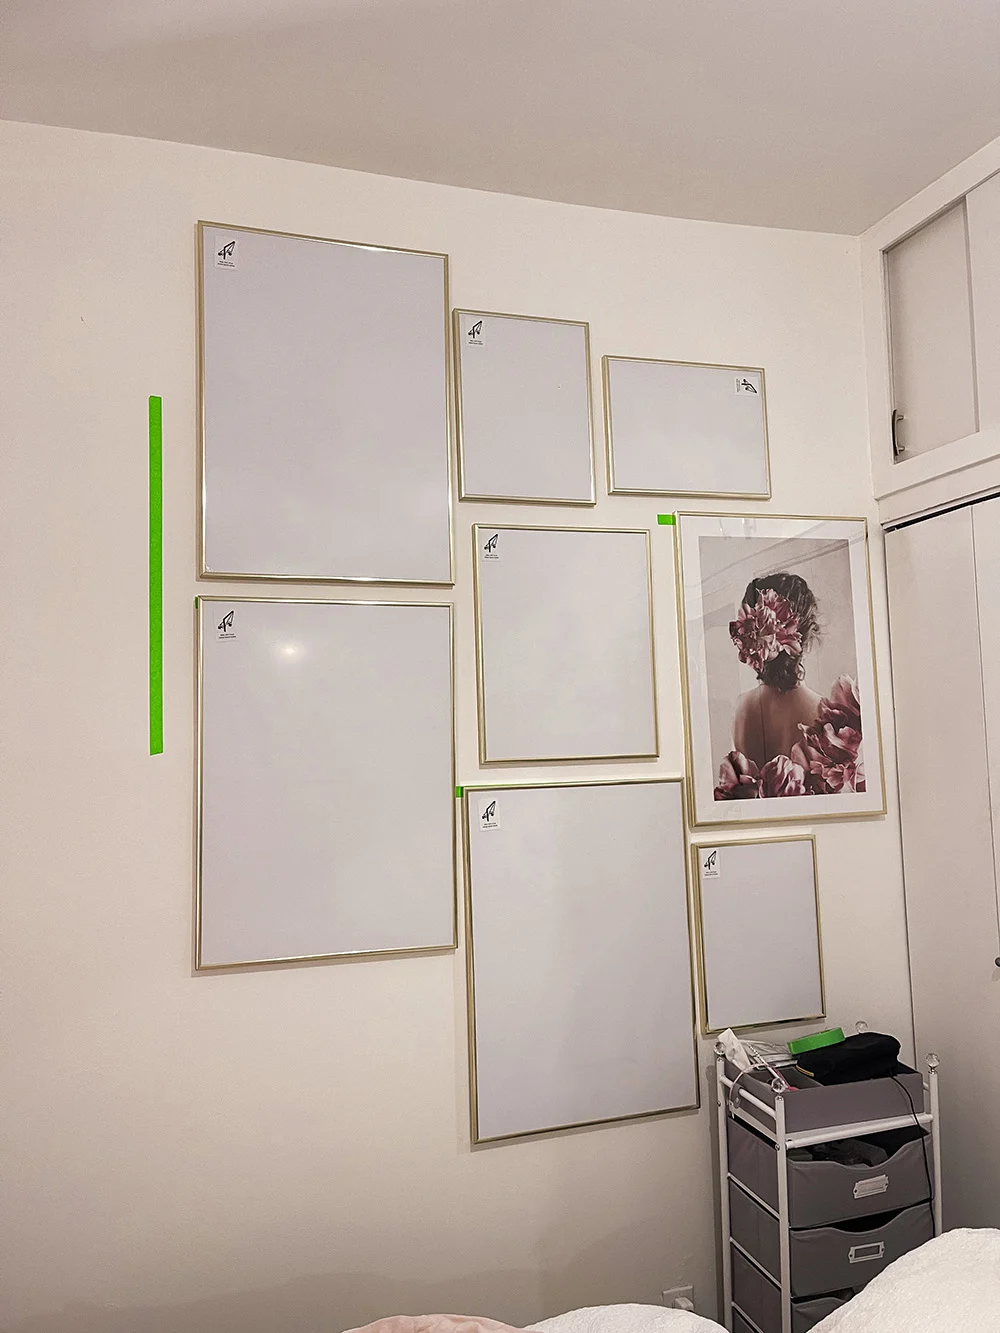
Mark that spot with a pencil, that is the exact point you will hammer the small picture nail into the wall at!
Although the frames each have a different centre spot in width, it will always be 8.75cm down from the top which makes it nice and easy.
Hammer in your nails and hang the frames
As I mentioned, Desenio frames are super light and so you will only need one small nail for each.
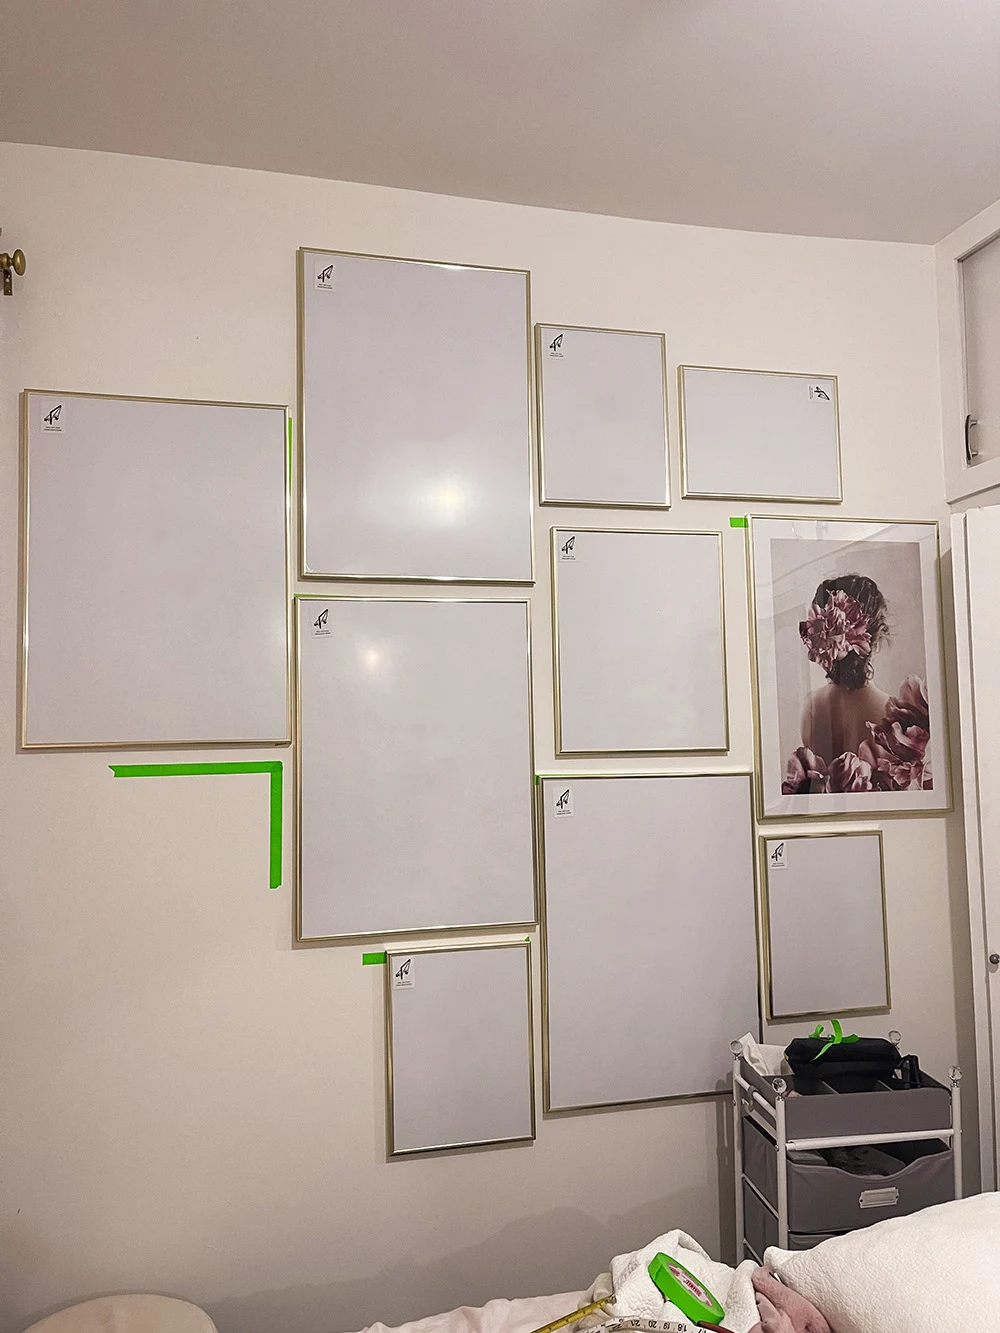
Hammer the nail in about 2/3-3/4 of the way into the wall (depending on how long it is) in each spot you marked with a pencil.
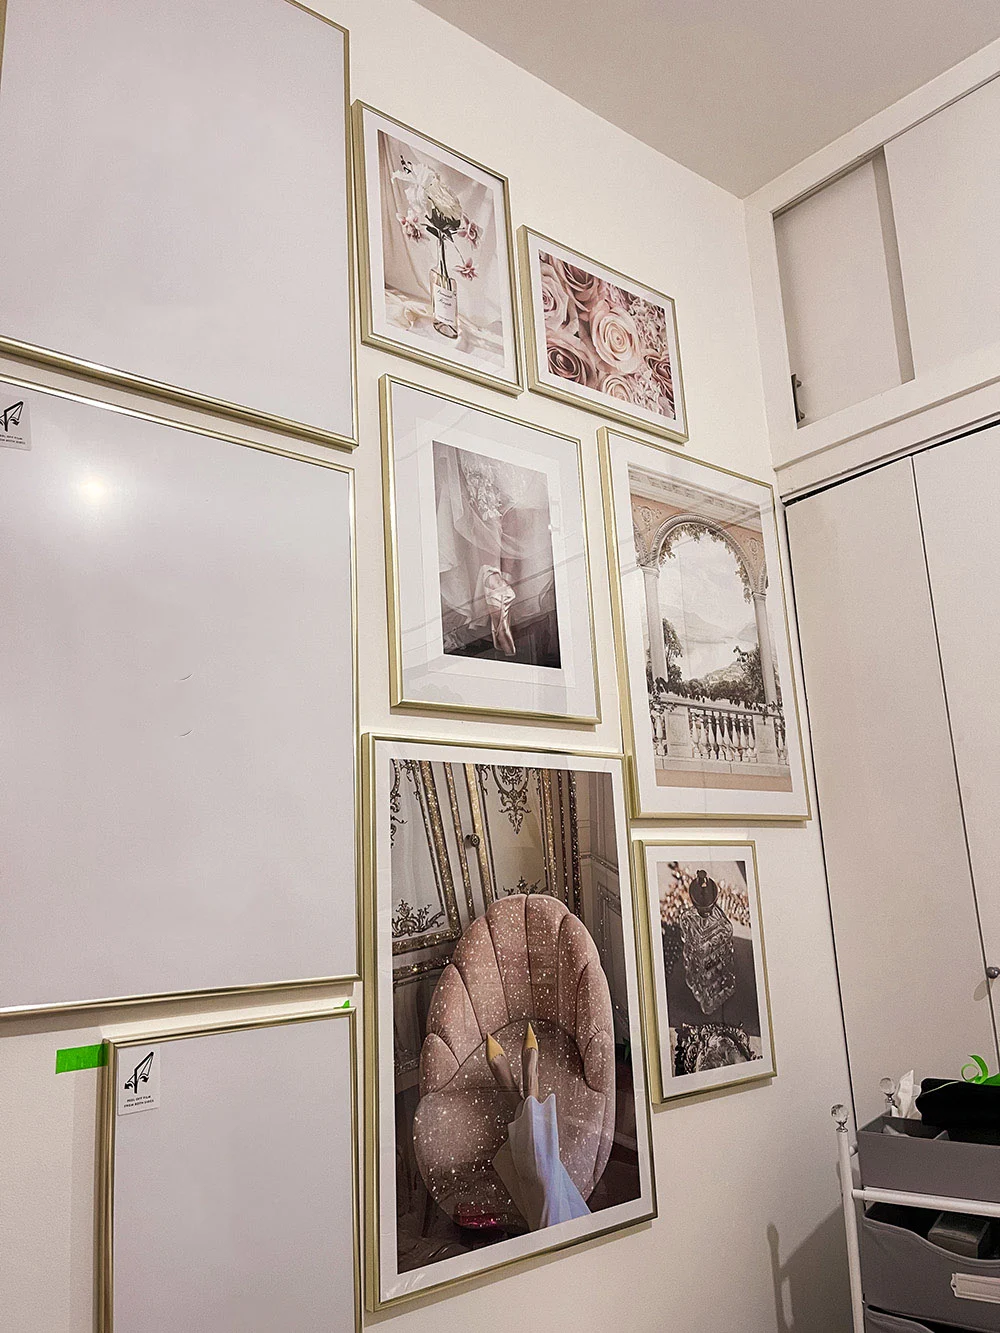
Now you just have to hang your art!
A little tip to make sure your Desenio art always hangs straight is to put a little non damaging sticky tack in the bottom corners of each frame and press gently to the wall.
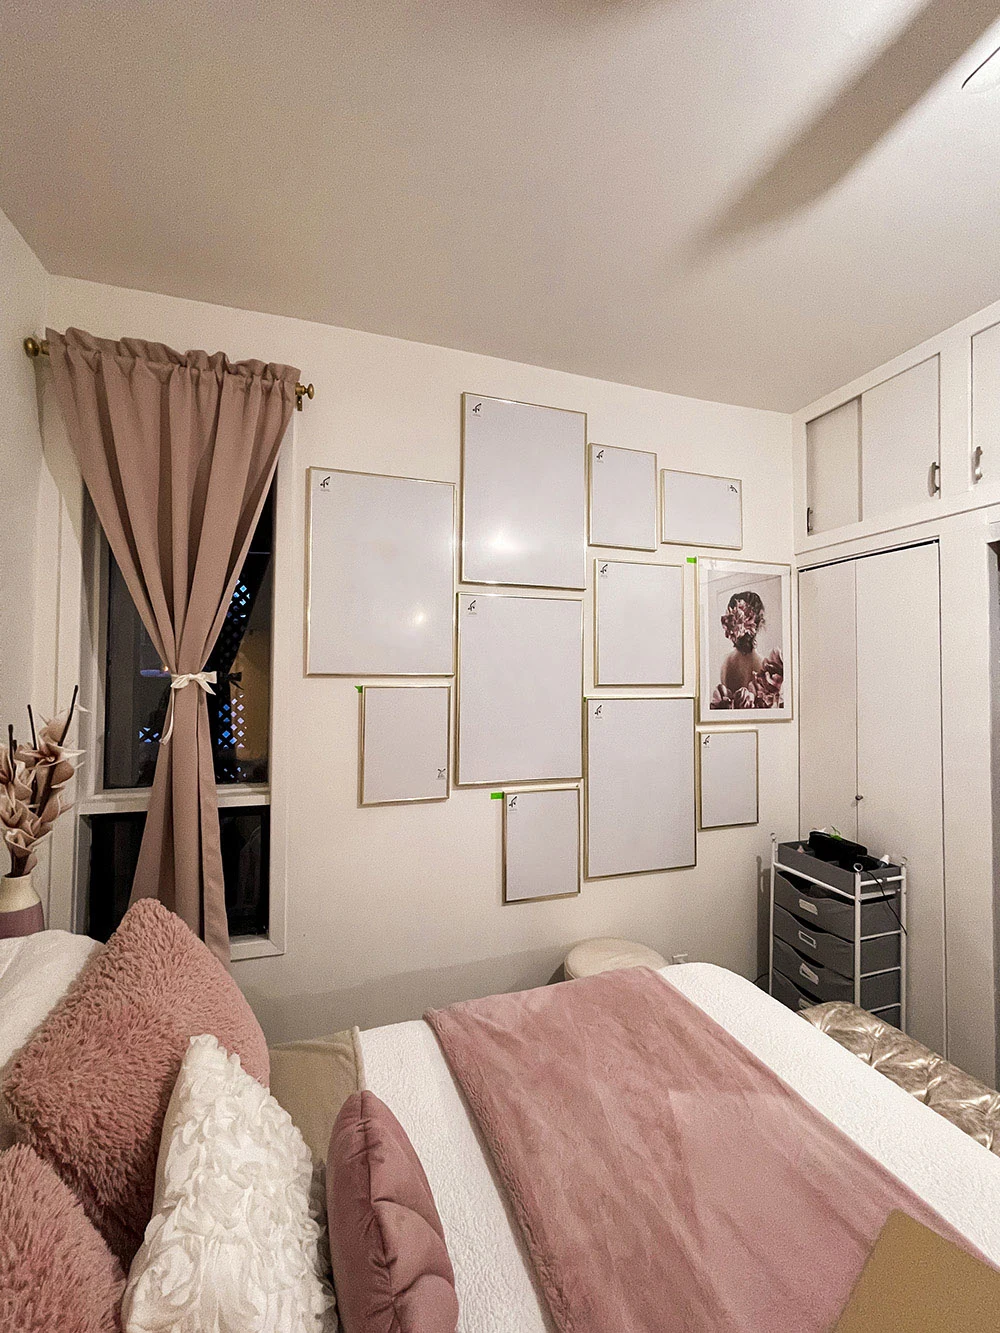
I didn’t do this though and mine have all been straight!
Enjoy your gallery wall!
You’ve now completed your Desenio gallery wall, and doesn’t it make your place look amazing?

Enjoy how your new gallery wall completes your space, I know I love mine!
Final Thoughts
I absolutely adore how my Desenio gallery wall completes my bedroom.
It really makes my bedroom seem like it’s a gallery in itself!

Although I went super girly and romantic with my gallery wall, Desenio has so many different styles and there certainly is more than enough selection for everyone!
I hope you found this Desenio review and guide on how to install your own gallery wall super useful.
Don’t forget you can use the code XKIRSTENW on the Desenio website for 10% off your entire purchase
If you have any questions please don’t be afraid to let me know in the comments!

Be sure to keep up with me on Instagram, Pinterest, TikTok and Facebook if you aren’t already!
Feel free to subscribe to my weekly newsletter to get my blog posts, updates, and special offers delivered right to your inbox 🙂
